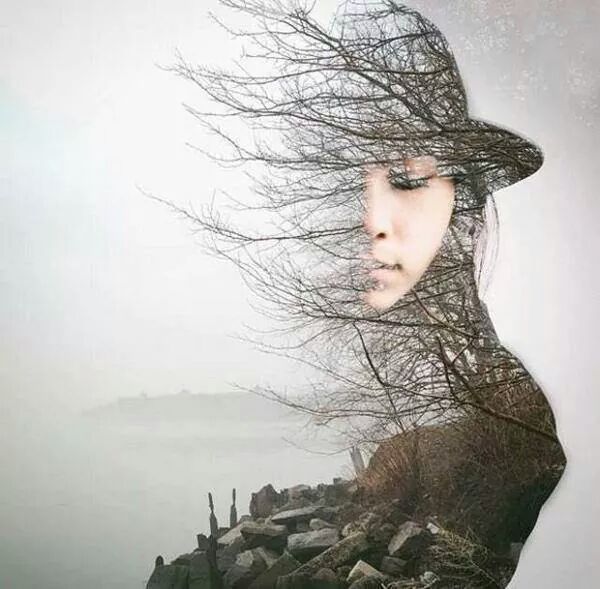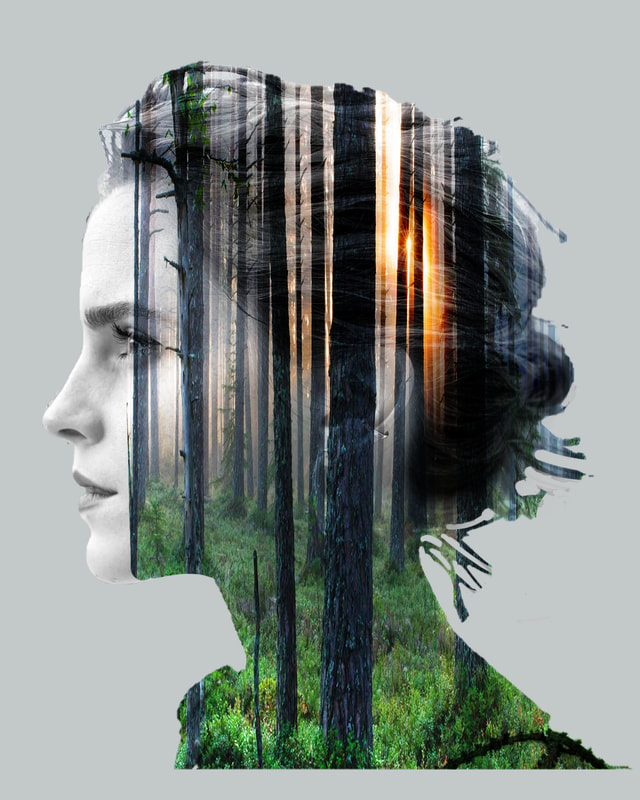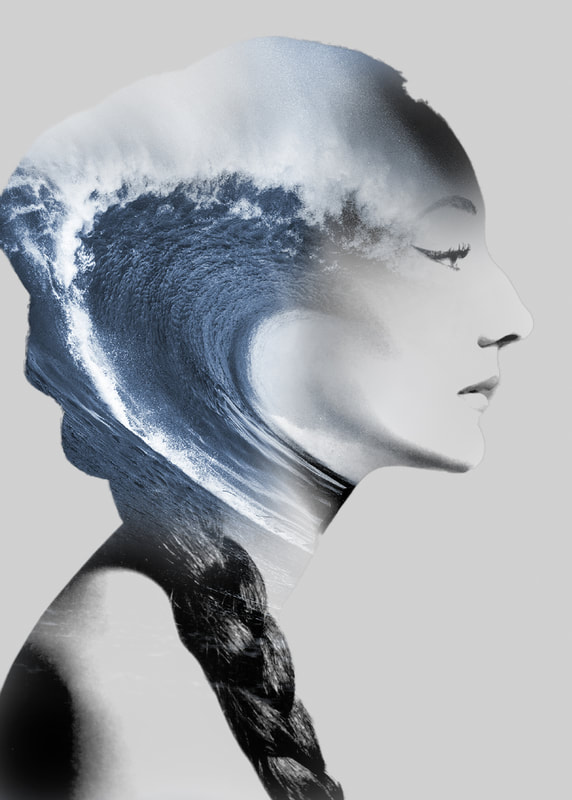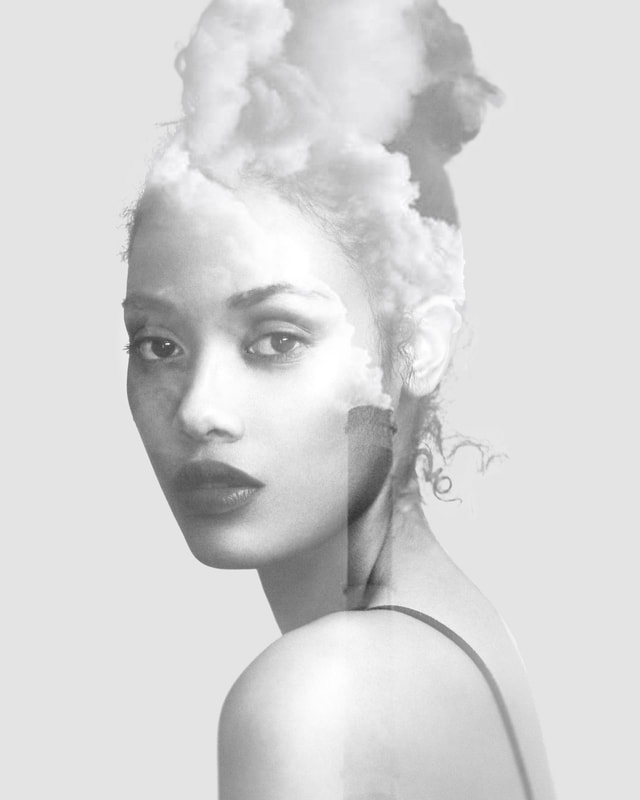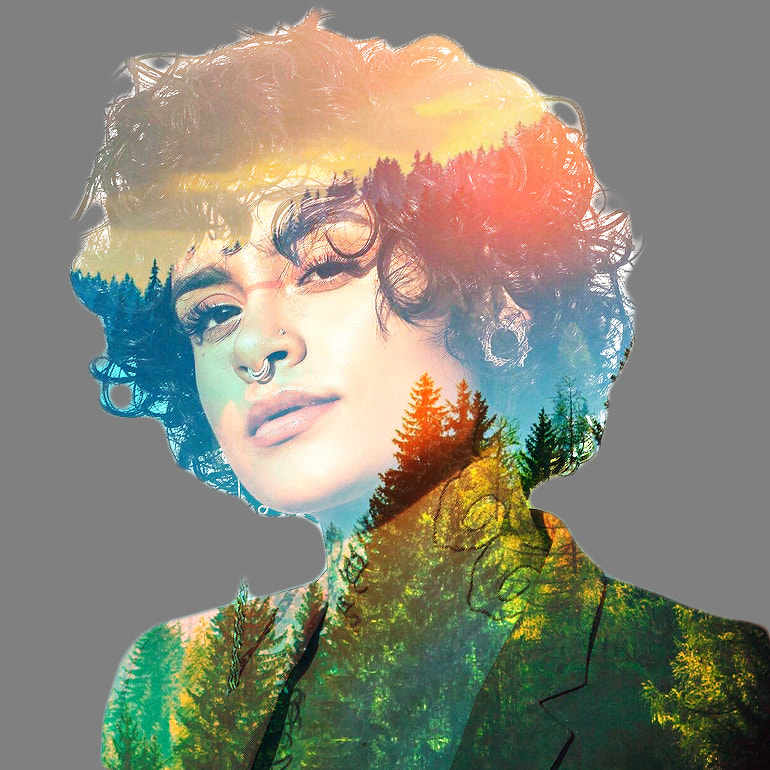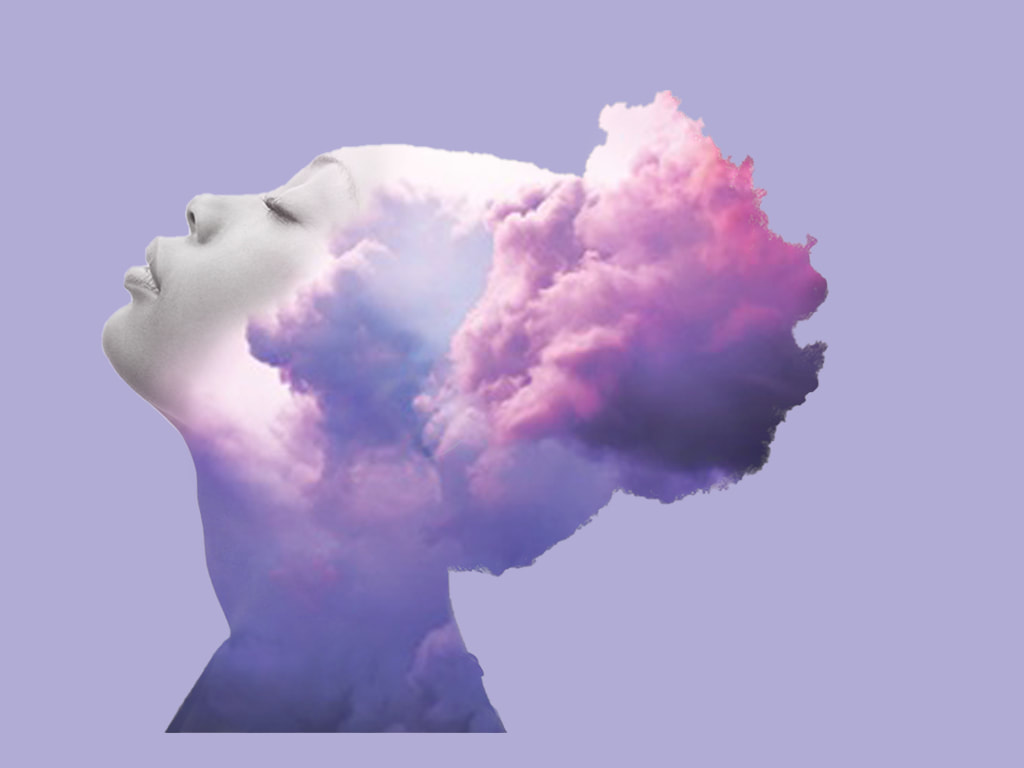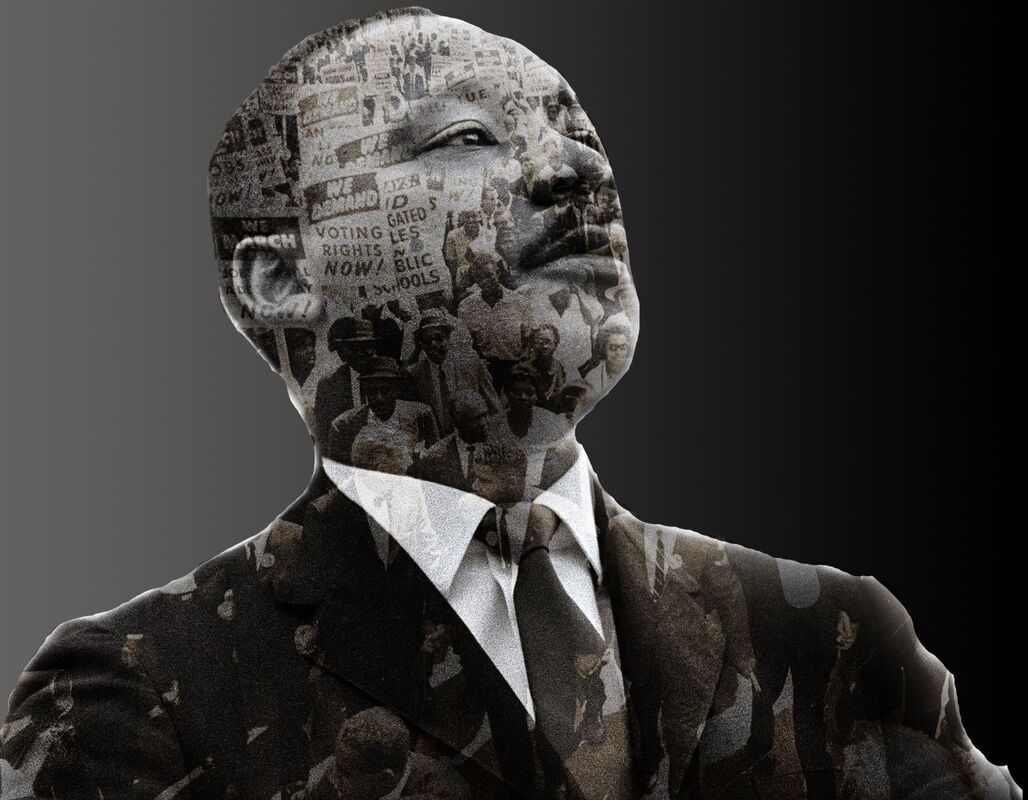
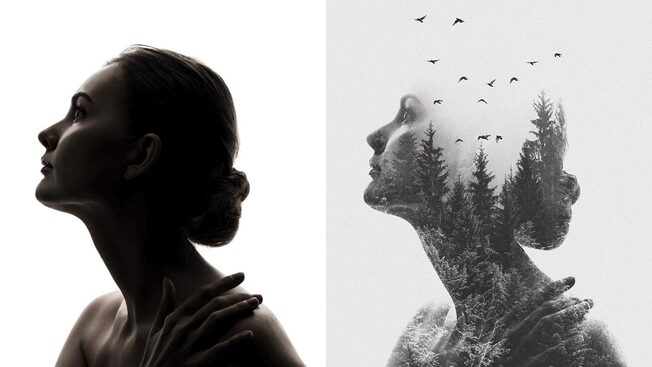
In this PROJECT assignment, you will be using the DOUBLE EXPOSURE technique in an attempt to add narrative and/or meaning to a portrait. This process uses 2 or more digital photographs to create a single image.
|
* A BIT OF HISTORY ON THE SUBJECT...
This DIGITAL technique is based on traditional film based photographic processes like Sandwiching Negatives or in-camera Multiple Exposures. |
|
YOUR ASSIGNMENT
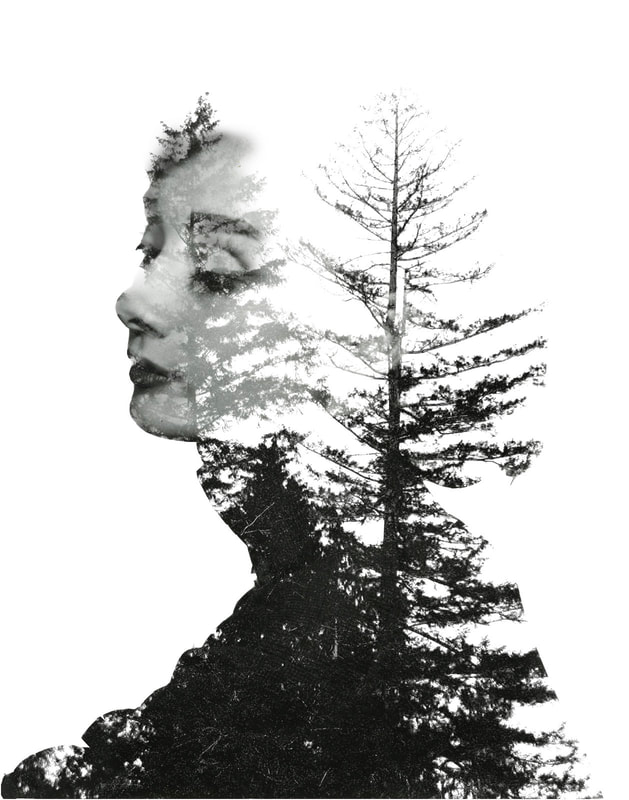
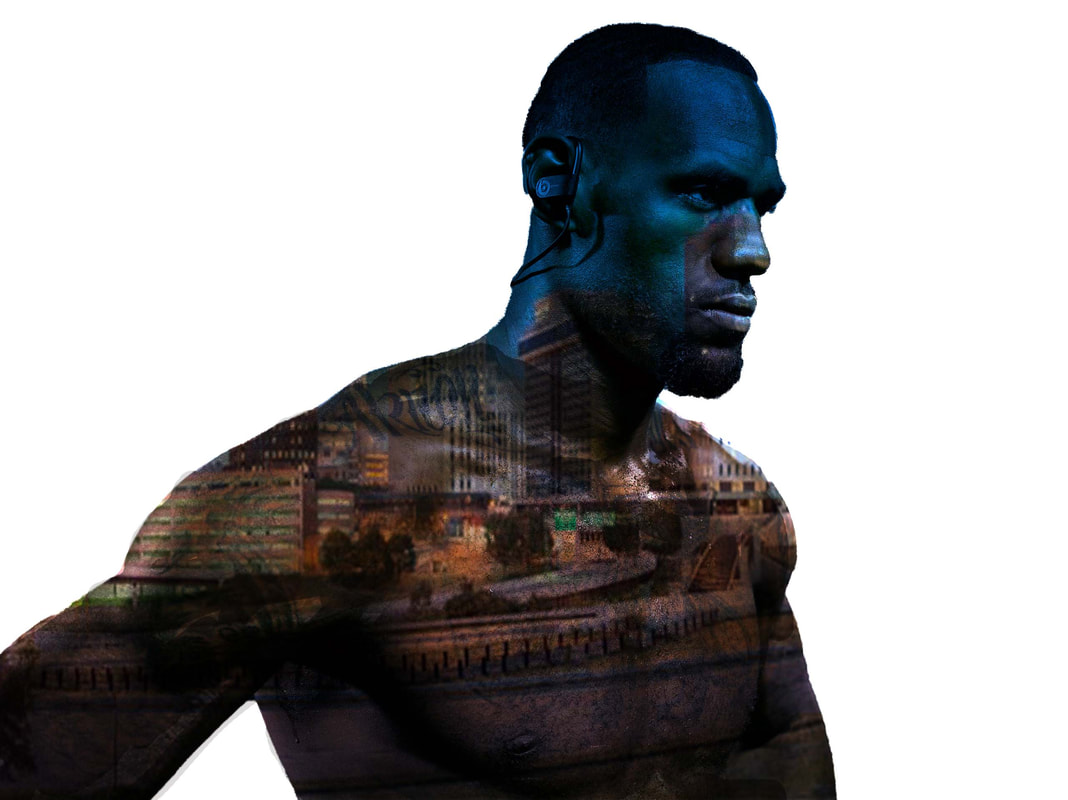
Use at least 2 HIGH RESOLUTION images including a:
- PORTRAIT
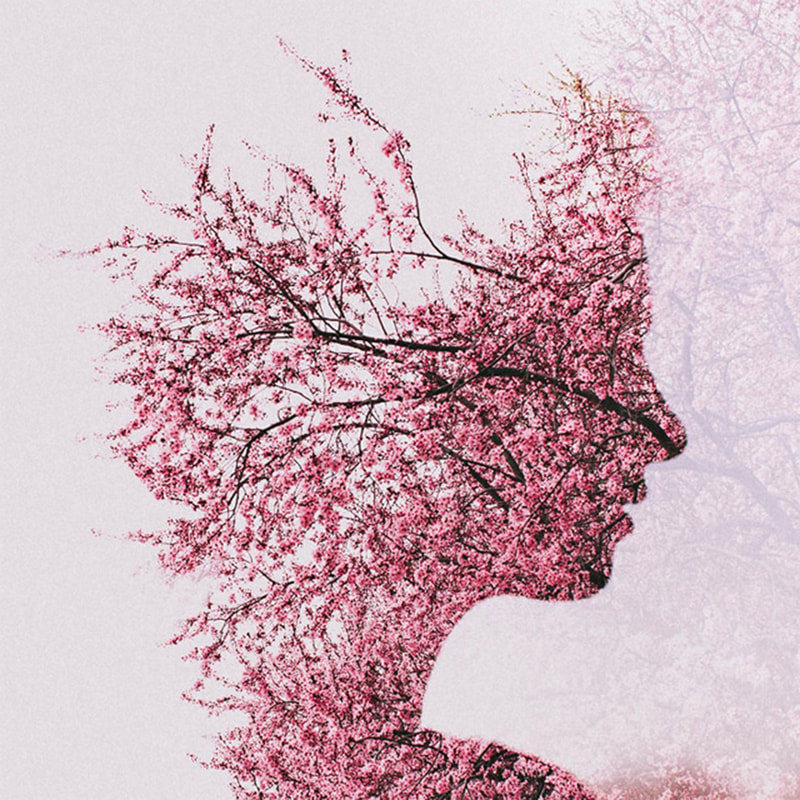
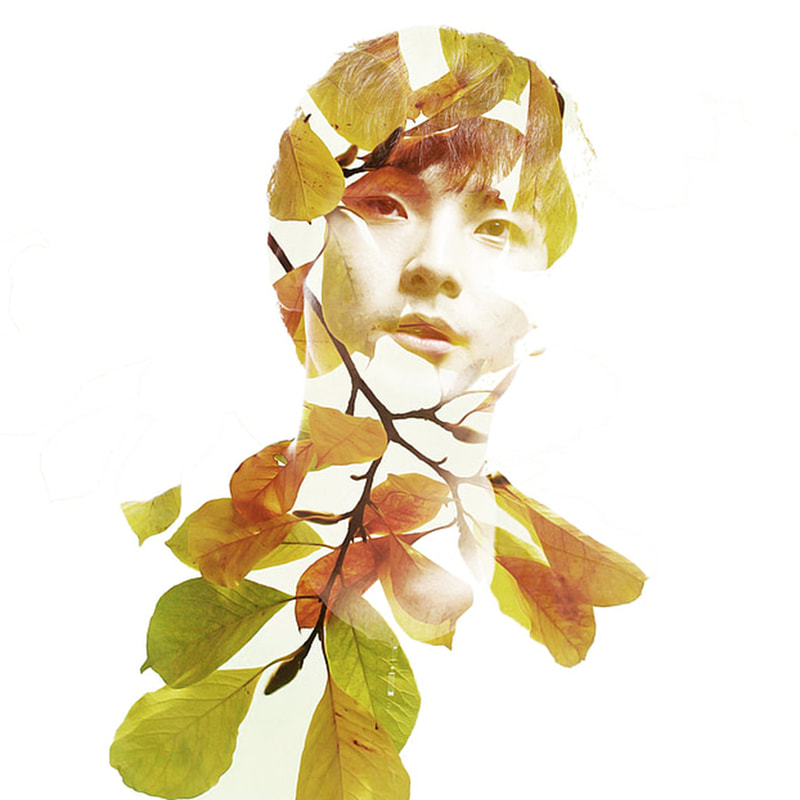
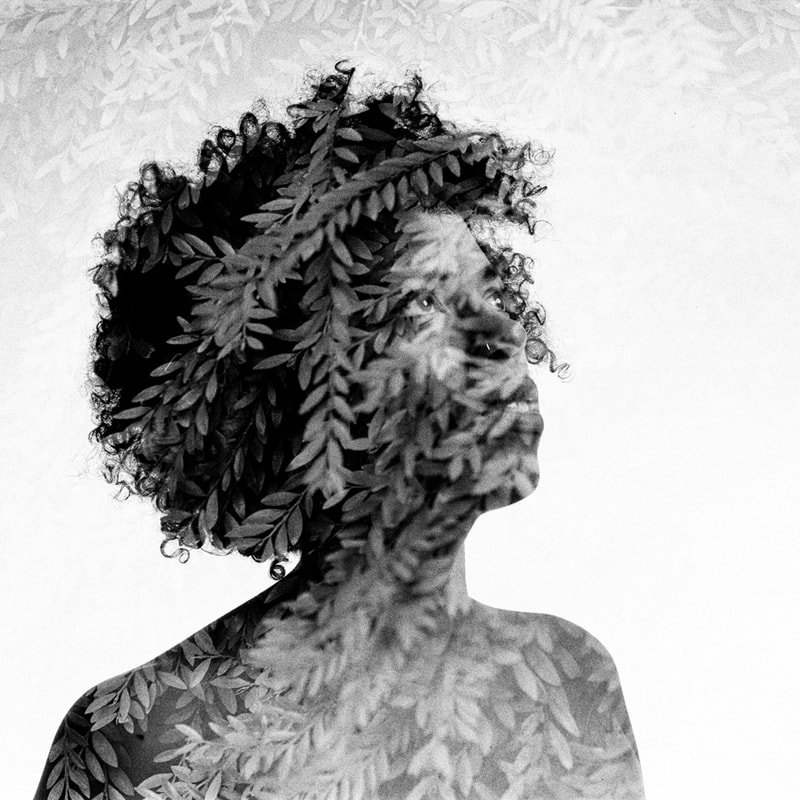
- And a texture like a LANDSCAPE or PATTERN
DOUBLE EXPOSURE TECHNIQUE
The general idea behind this technique is that you have a portrait with the background removed blended with another layer that fits the portrait exactly -
STEP 1
ISOLATE YOUR SUBJECT
This technique works best with a PORTRAIT that:
- Is CLOSE-UP or has a tighter CROP
- Use W x H x Resolution in the CROP TOOL OPTIONS bar and make your image 8" x 10" x 300 ppi
STEP 2
COLOR CONTRAST & TONE
The DOUBLE EXPOSURE process works best if your images have good COLOR, CONTRAST and TONE.
ADJUST the COLOR - CONTRAST - TONE
There are many ways to adjust the COLOR and CONTRAST and of your layers
IMAGE > ADJUSTMENT >
To name a few...
Or you can use
ADJUSTMENT LAYERS
Remember though, your adjustment layer will affect all the layers below unless you need to create
IMAGE > ADJUSTMENT >
- Brightness Contrast
- Levels
- Color Balance
- HUE and Saturation
To name a few...
Or you can use
ADJUSTMENT LAYERS
Remember though, your adjustment layer will affect all the layers below unless you need to create
- a CLIPPING MASK to make your adjustment layer effect only ONE layer below...
This video shows a few ways to adjust the way your image looks including COLOR, CONTRAST and TONE as well as how to use an ADJUSTMENT LAYER and create a CLIPPING MASK
STEP 3
RETOUCH THE PORTRAIT
Use the retouching tools like the SPOT HEALING BRUSH or PATCH TOOL to remove any distracting elements to create a beautifully finished portrait.
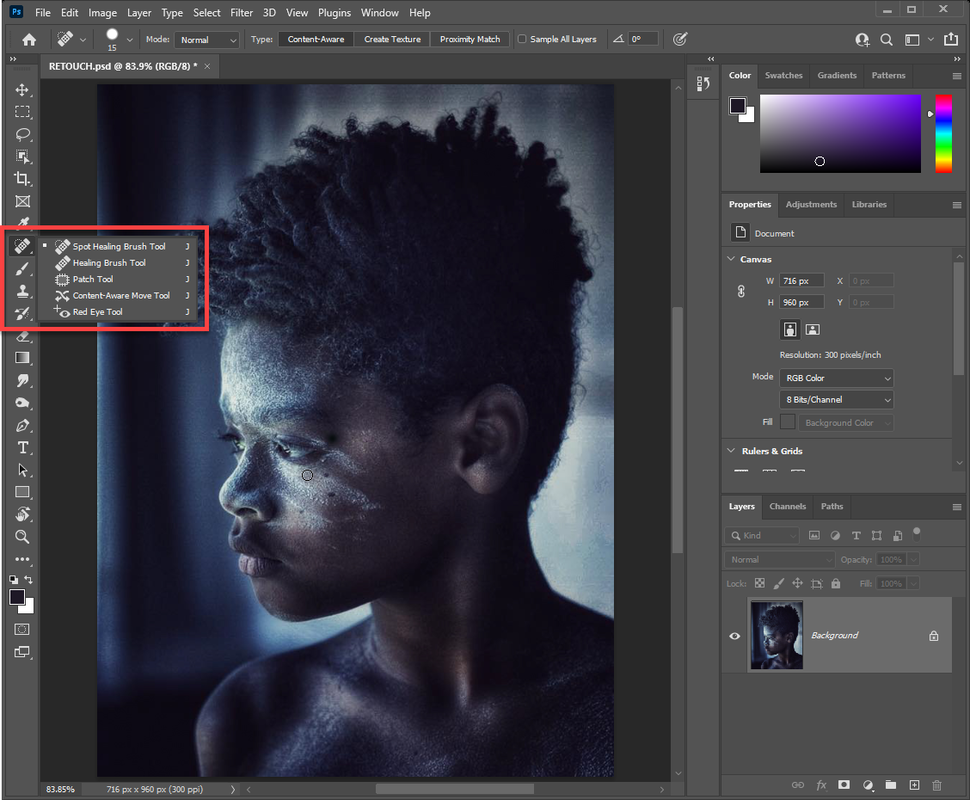
RETOUCHING TOOLS
|
|
STEP 4
REMOVE THE BACKGROUND
The goal of this step is to erase the background (or NEGATIVE SPACE) surrounding your portrait. Remember, there are many ways you can remove the background of your image - Use whatever way works best for you!
- Add a LAYER MASK and then use the BRUSH TOOL with black
- Make a selection of your portrait using SELECTION TOOLS (I like to use the SELECT SUBJECT button) and then click on the ADD LAYER MASK button at the bottom of the LAYERS PANEL
- Select the background of your portrait and erase or press DELETE on the keyboard
|
Add a LAYER MASK and then use the BRUSH TOOL with black
|
OR use SELECTIONS and ADD LAYER MASKS to remove the background
|
Whatever way you choose to remove the background, I ALWAYS like to use the SELECT & MASK interface to refine my selection
There are lots of tools in the SELECT and MASK... window to refine your selection
NEW LAYER WITH LAYER MASK
|
|
STEP 5
PLACE YOUR LANDSCAPE OR TEXTURE LAYER
You can add your landscape or texture layer in many ways as well...
- Go to FILE > PLACE EMBEDED
- Drag your downloaded file directly into PHOTOSHOP into your portrait file
- Drag and drop a layer from a file already opened in PHOTOSHOP
- Duplicate a layer into a new file
ALL of these methods will give you the same results - use the way that works for you!
|
Here downloaded image files are being PLACED or DRAGGED into a open Photoshop file
|
Here there are multiple files opened in Photoshop and you can drag or duplicate layers between files.
|
STEP 6
ADD A LAYER MASK TO YOUR TEXTURE/LANDSCAPE LAYER
You will be adding a LAYER MASK to your texture/landscape layer that fits exactly over the portrait.
- CTRL CLICK on the portrait's LAYER MASK to create a selection that matches the portrait exactly
- Or CTRL CLICK on the portrait if you deleted or removed the negative space surrounding your portrait to make your selection.
- Select your landscape/texture layer and click ADD LAYER MASK button to the bottom of the LAYERS PANEL - this should remove part of your landscape/texture layer to now match the portrait.
STEP 7
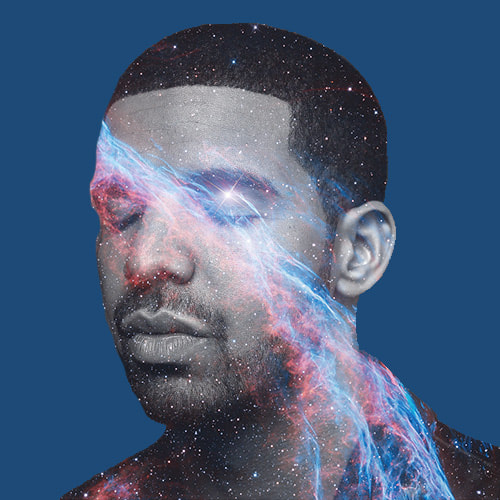
ADJUST THE LAYER BLENDING
This is the step where you are blending one layer into another
STEP 8
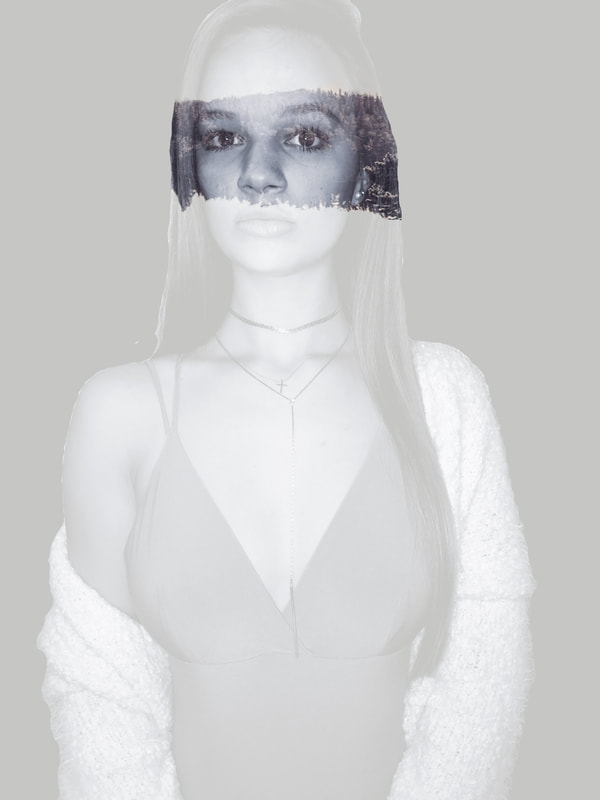
FINE TUNING YOUR LAYER MASK
You can selectively adjust what is visible in your image by using your layer mask to 'fine tune"
Use a brush to:
- Paint with BLACK on a layer mask to remove (erase) detail
- Paint with WHITE to make things reappear
- Use this process skillfully and creatively to adjust how your image looks, and WHAT STORY your image is telling
STEP 9
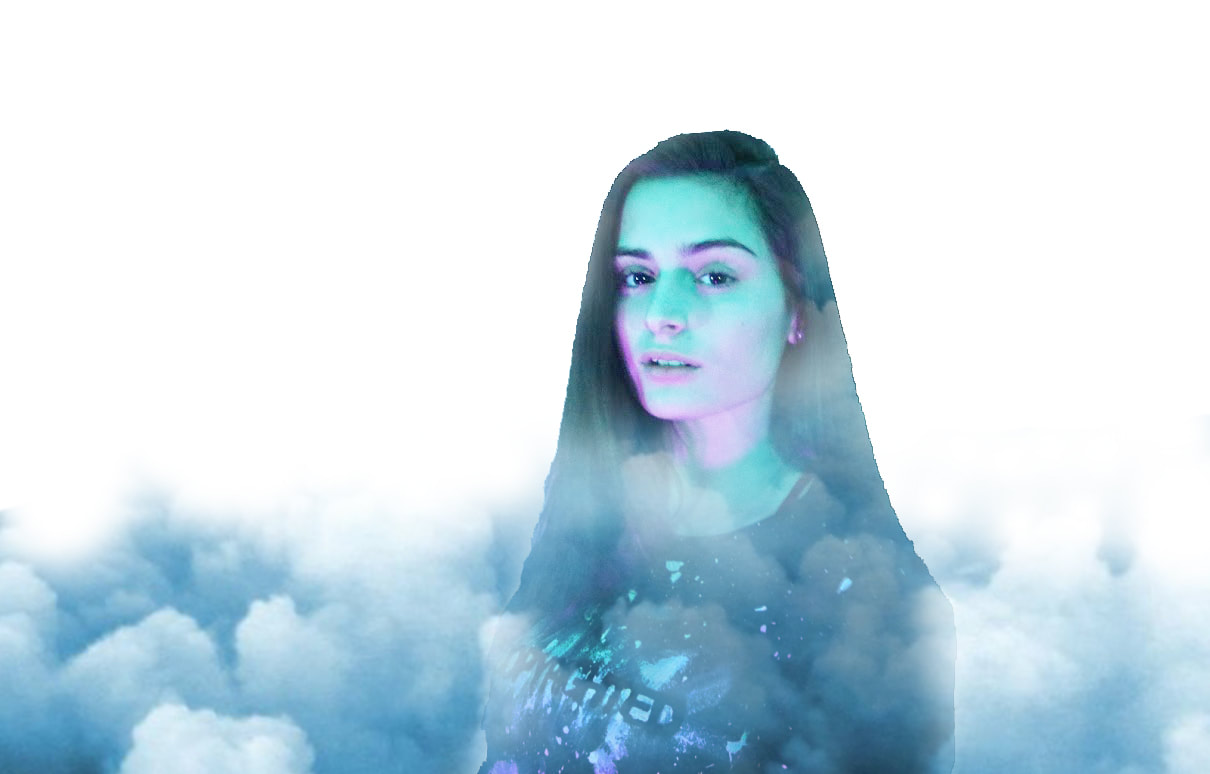
ADD A NEW BACKGROUND
There are no "rules" as to what background you use for your double exposure
- It could be a solid color
- GRADIENT using the GRAIDIENT TOOL
- Some DOUBLE EXPOSURES look good with light BACKGROUND visible -adjust layer opacity
STEP 10
GET CREATIVE
Make adjustments to improve your image.
- Add elements or textures to enhance your two images
- Emphasize your narrative if it is not totally clear
Here I am adding a dragon image, cutting out the background of the dragon and adjusting the LEVELS to make it look like this new element belongs in the image.
FINALLY...
To finish up, save as a JPEG
File Name - DOUBLEexposure_lastname
Turn in both your .psd file and your .jpeg file
File Name - DOUBLEexposure_lastname
Turn in both your .psd file and your .jpeg file