DIGITAL Spacescape - An Illustration
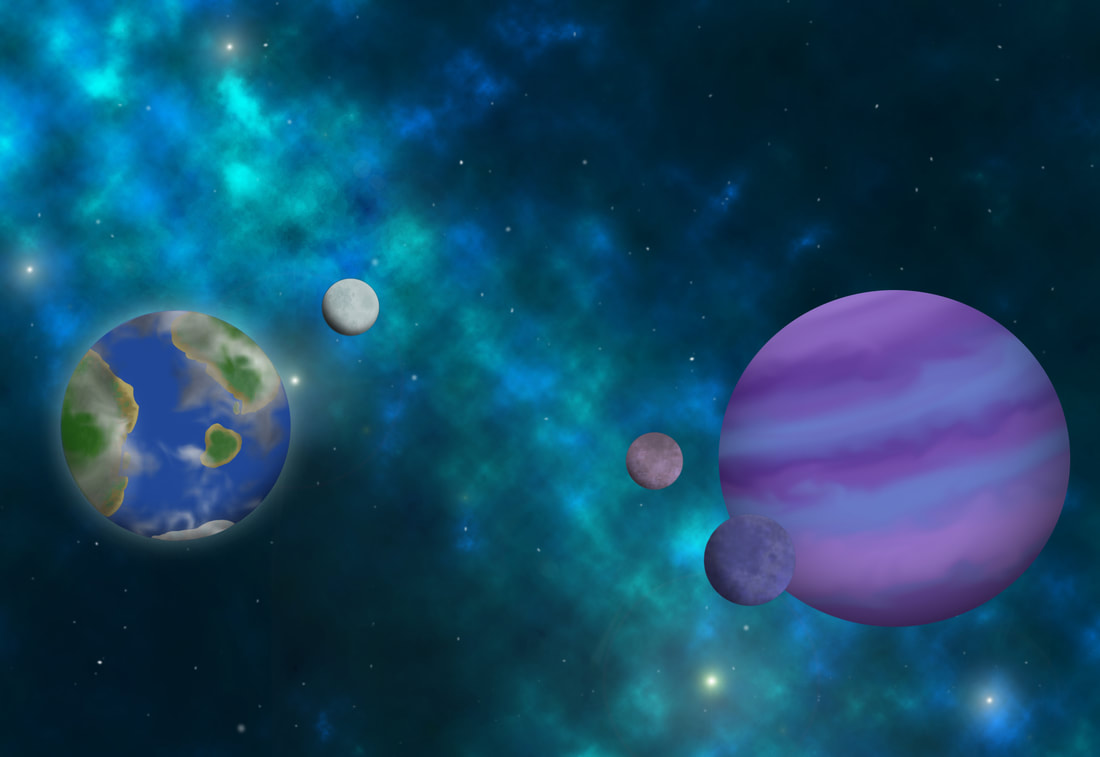
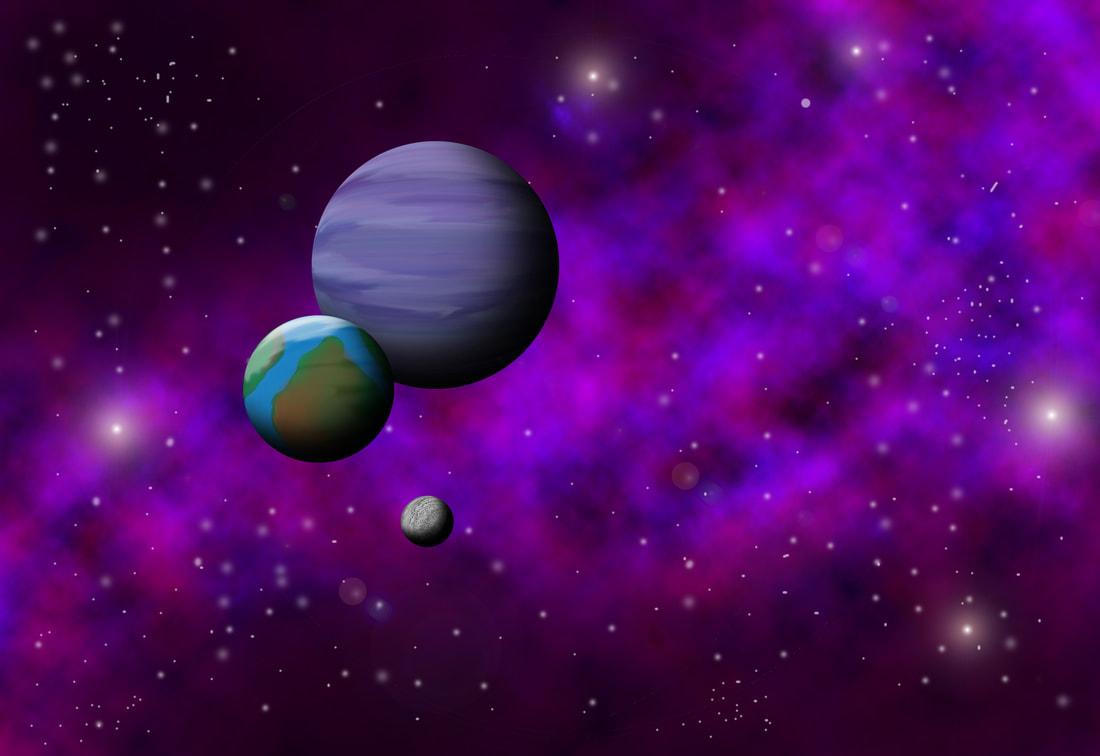
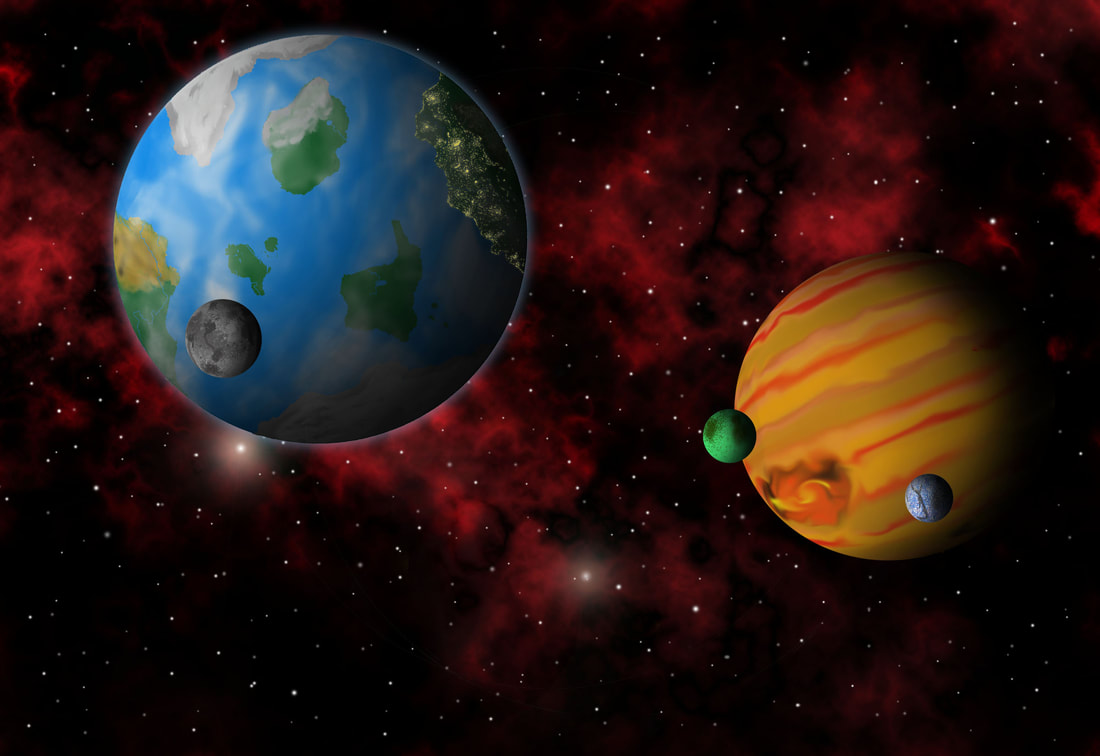
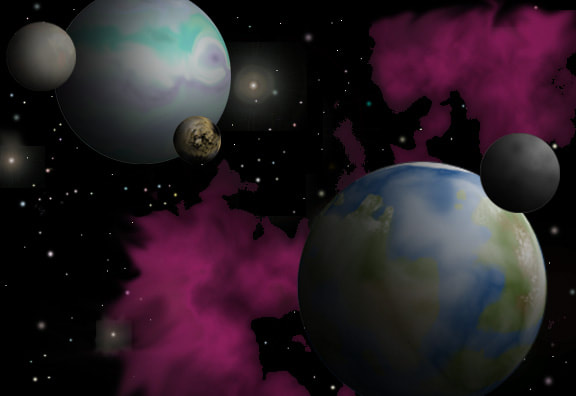
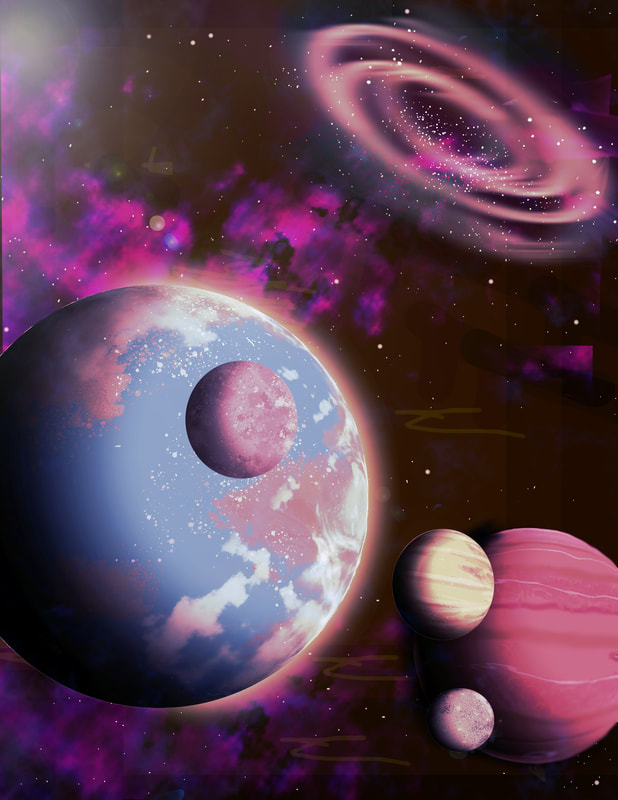
In this assignment, you will be working as an ILLUSTRATOR to create a digital painting of a SPACESCAPE that includes a background starfield, nebula, planet and satellites (moons) using only SELECTIONS and BRUSH TOOLS along with FILTERS & EFFECTS.
This lesson emphasizes the effective use of FILTERS & EFFECTS, LAYER MANAGEMENT & LAYER BLENDING MODES.
This lesson emphasizes the effective use of FILTERS & EFFECTS, LAYER MANAGEMENT & LAYER BLENDING MODES.
|
Your OBJECTIVE in this assignment is to continue to familiarize yourself with:
|
|
Here you will find the steps to complete your exploration of the SPACESCAPE in ADOBE PHOTOSHOP.
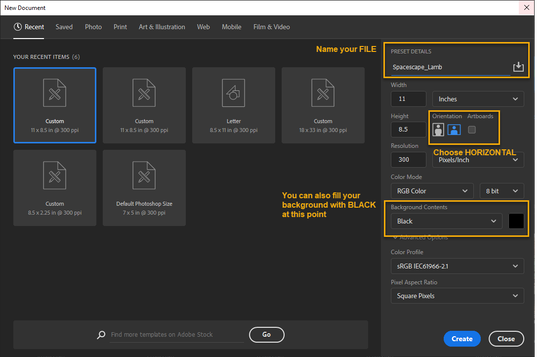
create a New File
FILE INFORMATION Save as: Spacescape_Lastname.psd Dimensions: 8.5” x 11” Resolution: 300 dpi Mode: RGB |
|
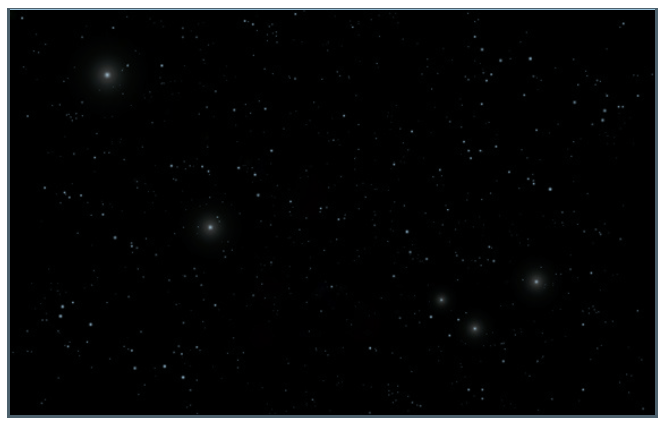
STARFIELD
|
The first step in your SPACESCAPE you will create the STARFIELD
Use different sized BRUSHES to create a strong depth of field - remember, the larger the brush the fewer the stars. |
|
1. SMALL STARS
- You will need a lot of small stars to create a foundation for the background. - Make sure placement is organic and natural - avoid evenly spacing stars! - Some areas will have few stars where others might have many. TO SPEED UP THE PROCESS...
You can try duplicating your Small Stars layer to double the amount of stars quickly!
Set the...
Layer Blend Mode to SCREEN Try dropping the OPACITY of this layer to create more of a sense of depth. Start with 50% and adjust up or down from there for the best look. Decide if this is an improvement or not; if not, simply delete the layer. |
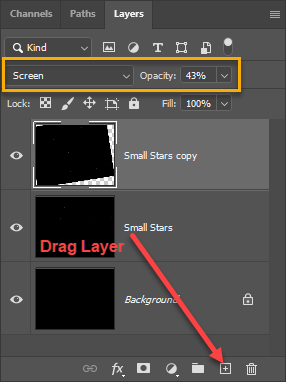
Drag the layer down to the CREATE NEW LAYER button to copy a layer
|
2. MEDIUM STARS
The process for creating your MEDIUM STARS with be very similar to the SMALL STARS
You can try duplicating your MEDIUM STARS layer to double the amount of stars quickly!
Set the Layer Blend Mode to SCREEN Try dropping the OPACITY of this layer to create more of a sense of depth. Start with 50% and adjust up or down from there for the best look. Decide if this is an improvement or not; if not, simply delete the layer. |
|
3. LARGE STARS
Follow the same procedure as MEDIUM STARS but create much fewer stars than MEDIUM STARS layer
- Create a layer named LARGE STARS and EDIT > FILL it black.
- Select a small brush (size 14-16 at 0% hardness) click randomly throughout composition
4. NEARBY STARS |
Each individual Lens Flare should look different from each other to help create a sense of
variety and depth - Use different BRIGHTNESS amounts for each lens flare. - scale each Lens Flare layer to create variety in size go to: Edit > Transform > Scale |
|
5. NEW GROUP FROM LAYERS...
|
|
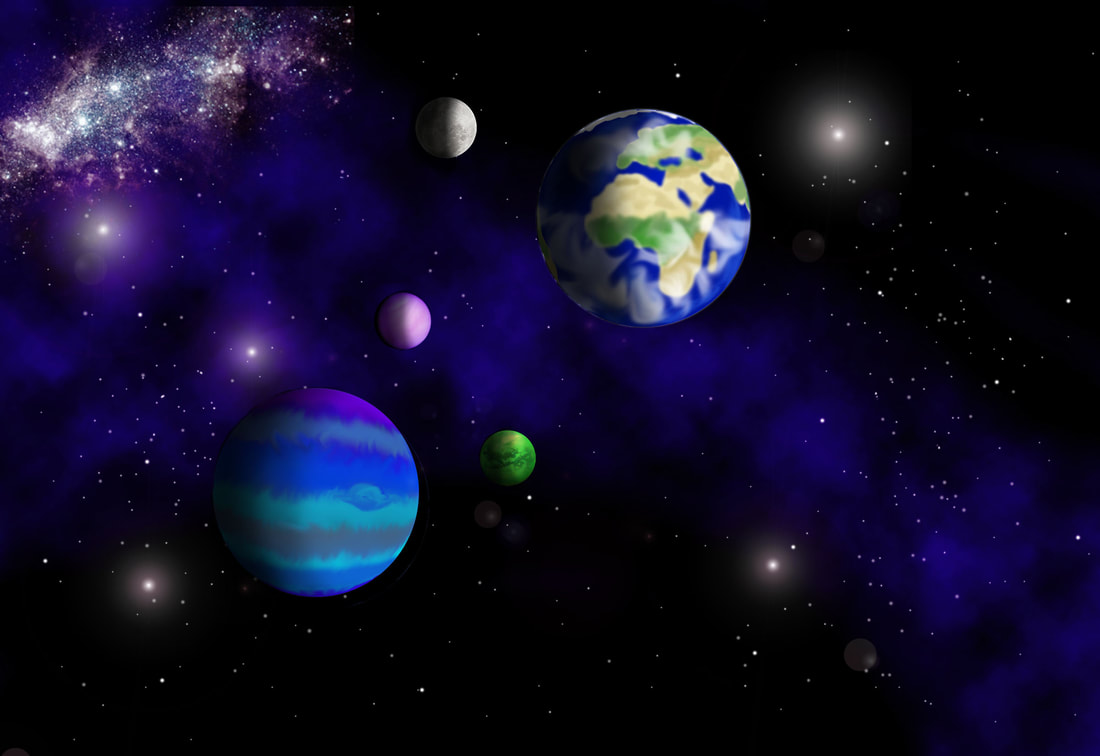
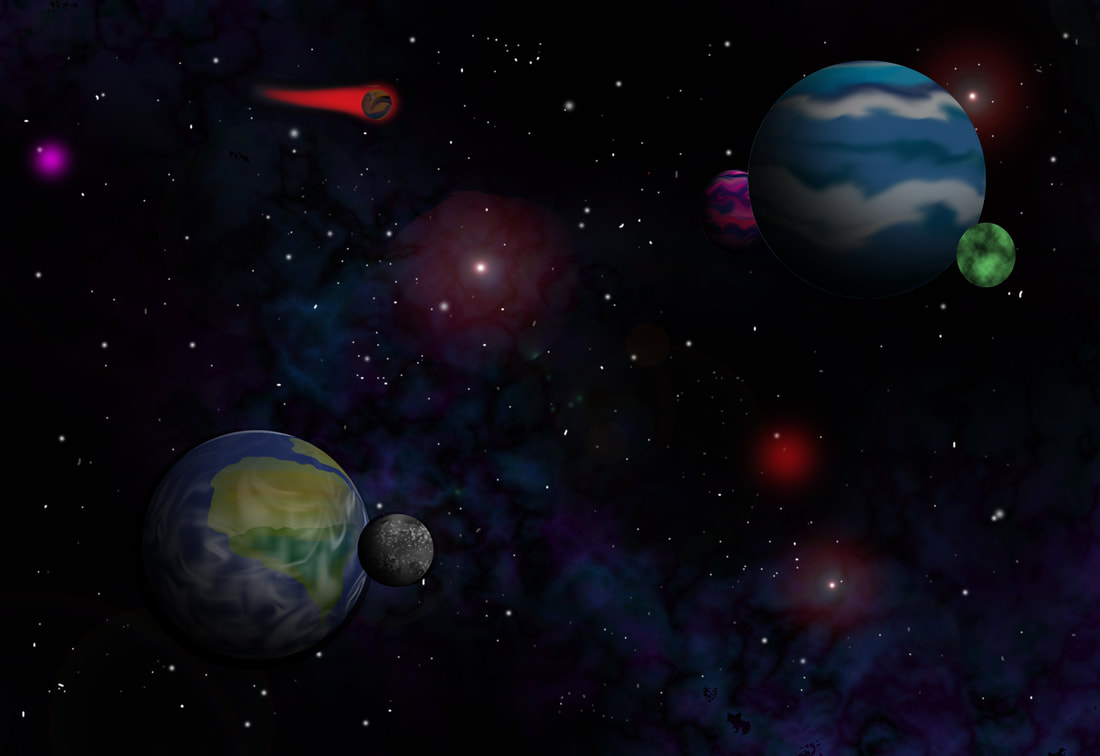
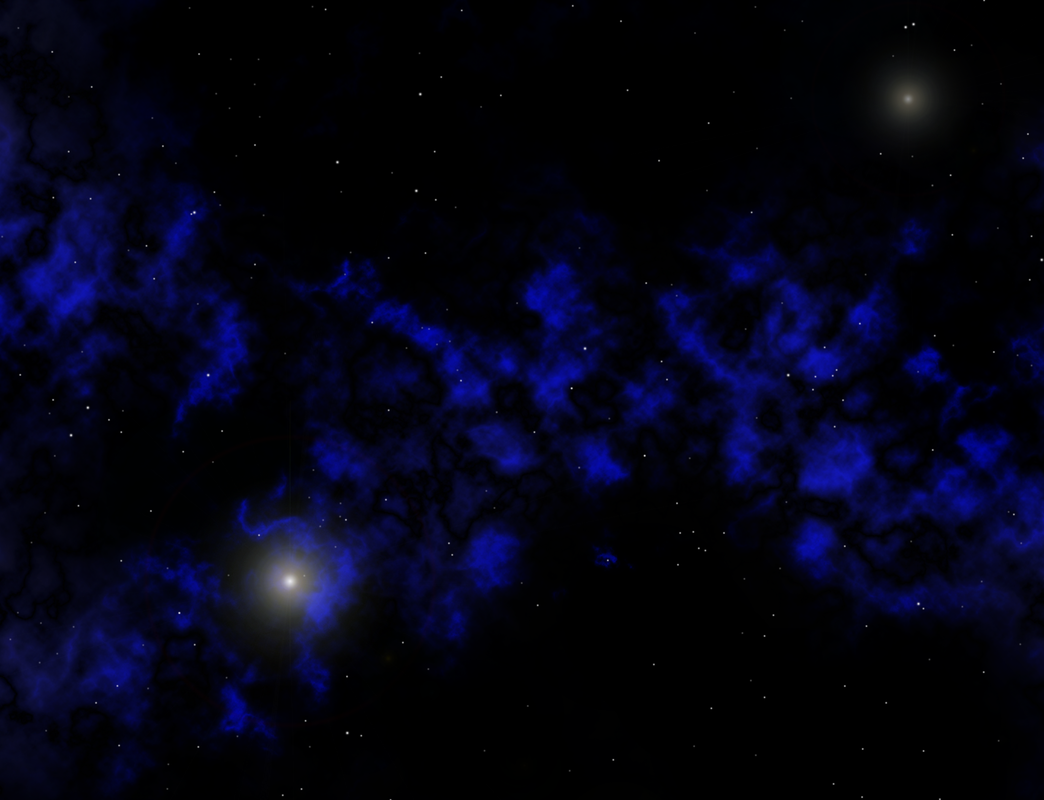
NEBULA
|
Decide what color you are going to use for your initial nebula layer - red, magenta, blue, violet, etc.
Create a NEW LAYER named for the color nebula cloud you plan to start with. - for example: if you are starting with blue name the layer BLUE NEBULA If you are not sure where to start, click the button to see some examples... |
|
|
DO NOT create a straight stripe
Create a swash of clouds that ebbs and curves naturally & organically |
Create additional Nebula Layer(s)
|
|
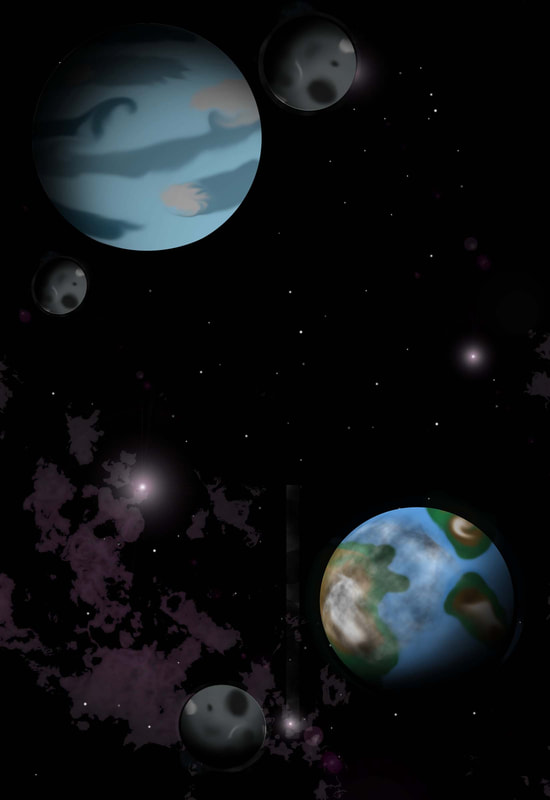
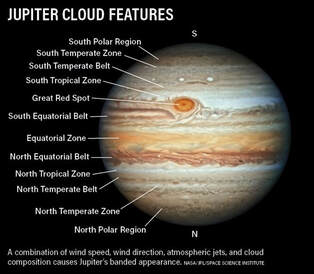
gas planet
Refer to Jupiter images to see the "look" you are going for in terms of color, banding and details
|
DECIDE ON COLORS
|
|
BASIC PLANET SHAPECreate a NEW LAYER and name it GAS PLANET
Create COLOR BANDS
STORMS and GAS CLOUDS
|
|
To DESELECT your planet, go to SELECT > DESELECT to remove your selection
You must have one predominant giant storm and at least three smaller storms
SMUDGE TOOL
LIQUIFY FILTER
Make sure your planet is selected before you click on the LIQUIFY FILTER
FILTER > LIQUIFY...
Your planet should open in a new LIQUIFY window.
FILTER > LIQUIFY...
Your planet should open in a new LIQUIFY window.
planet shadow
There are 2 types of shadows you can place on your PLANETS -
CRESCENT & GIBBOUS
Choose the one you like the best to use on all the planets and moons you create - don't mix!
Choose the one you like the best to use on all the planets and moons you create - don't mix!
|
CRESCENT SHADOW
A CRESCENT MOON has more SHADOW than PLANET - This type of shadow is made with the BRUSH TOOL
|
|
GIBBOUS SHADOW
|
A GIBBOUS MOON has more PLANET and less SHADOW - This type of shadow is made with the ERASER TOOL
|
|
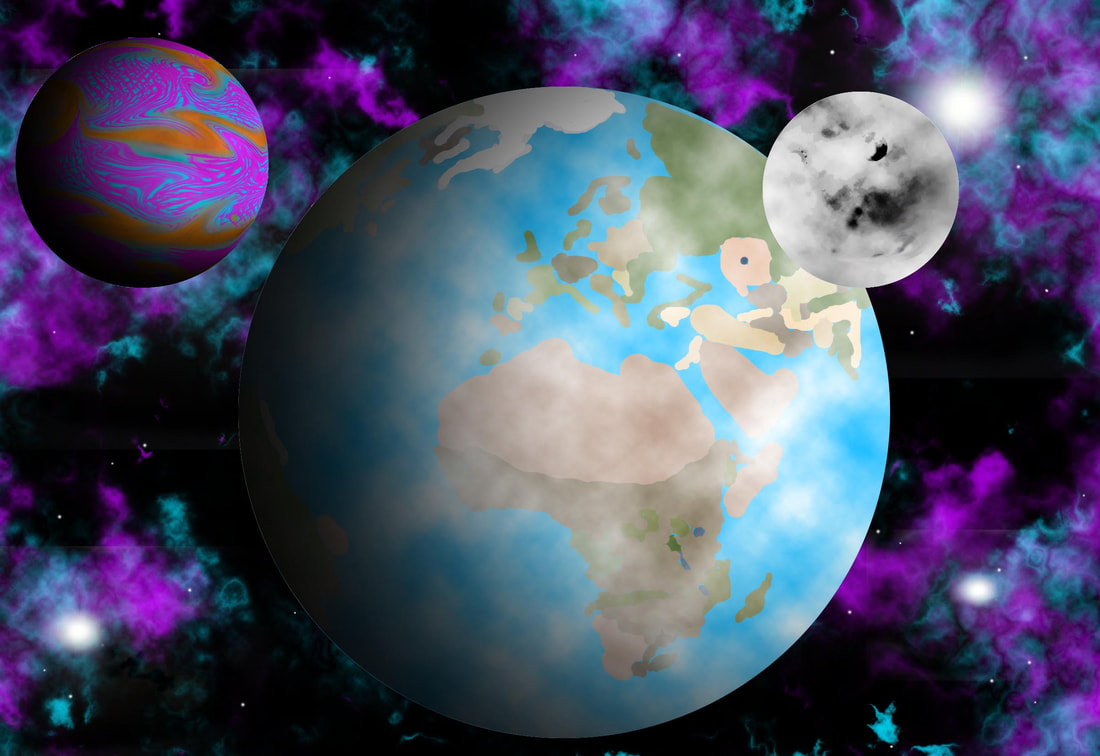
M-Class PLANET
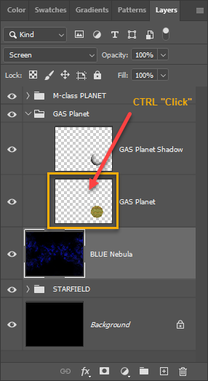
Here you can see that the M-Class planet is made of at least 3 layers
WATER LAYER
|
Make large CIRCULAR MARQUEE in center of frame - it should be as large as possible without touching any edges
This large size will enable you to create details more easily create layer (named WATER) and fill it your base water color (blue) |
|
LAND MASS LAYER
|
Create new layer for land named: Land Mass
use small brush to create realistic edges of land masses consider islands, peninsulas, lakes, rivers, mountains, ice caps, snow cover, etc. start with a base color to build up from- what is the predominant color of your land? make land color transitions represent various terrain (greens and tans) use textured brushes to create a more realistic look create ice cap at north and or south poles (textured brushes can be found in the brush library) strongly consider using textured brushes to help create terrain changes within land boundaries |
|
CLOUD LAYER
|
Create new layer for clouds named: Clouds
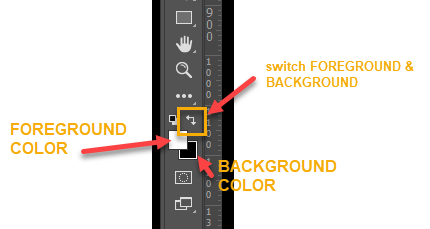
Use same techniques as NEBULA LAYER only this time use: WHITE foreground color & BLACK background color Use the BURN TOOL to darken areas more, just like in the NEBULA. Use Liquify or Smudge to swirl clouds to look more like what we see in Earth photos Set the LAYER BLEND MODE to SCREEN so that the dark areas become clear. |
|
SPHEREIZE M-CLASS PLANET
|
Spherize PLANET and CLOUDS
FILTER > DISTORT > SPHERIZE Create Marquis of planet shape by pressing CTRL and clicking on the layer thumbnail to select an object on a layer go to Filter > Distort > Spherize (use default 100%) Run this filter for Planet, Shadow, and Clouds layer |
|
MOONS
You will be making
- 2 Moons for your Gas Planet
- 1 Moon for your M-Class Planet
Use the same process to make your moons as you used on your planets
- Elliptical Marquee
- Fill with a color
- Use your Textured BRUSHES for detail
- Add a SHADOW
- SPHEREIZE
WHEN YOU ARE DONE! - SAVE yOUR FILE AS A jpeg
|
In the MENU commands -
|
|