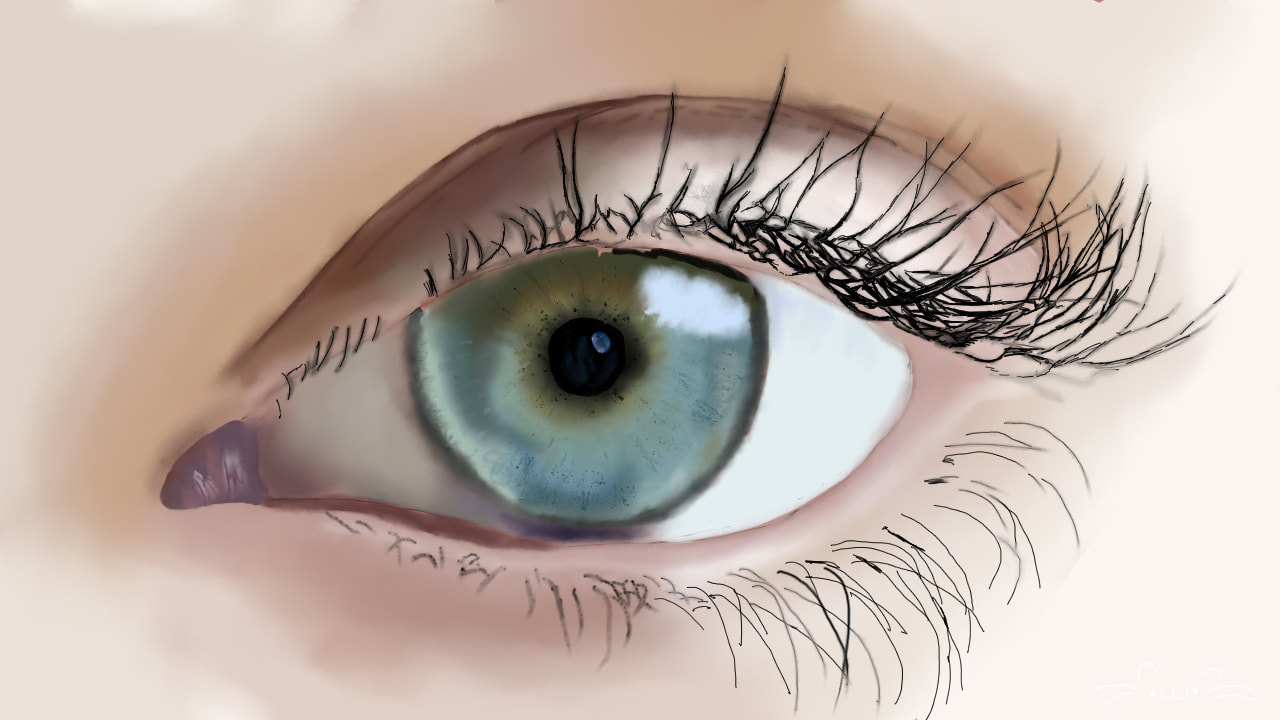
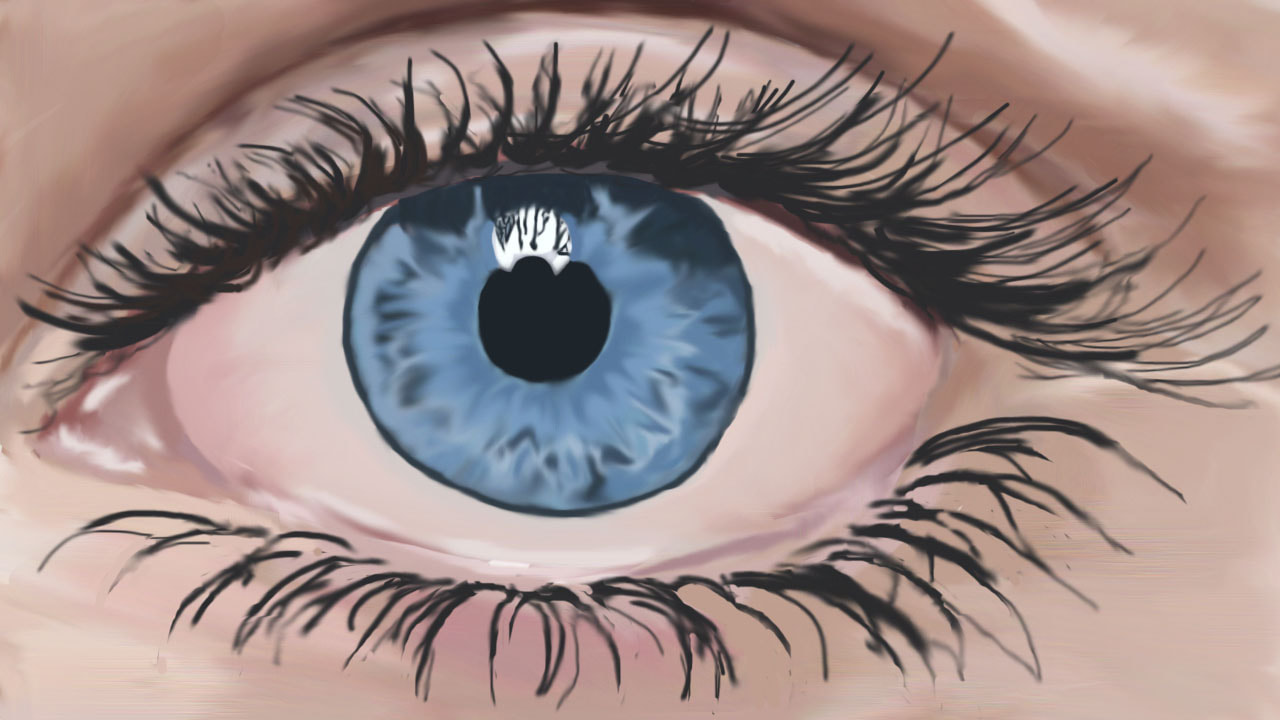
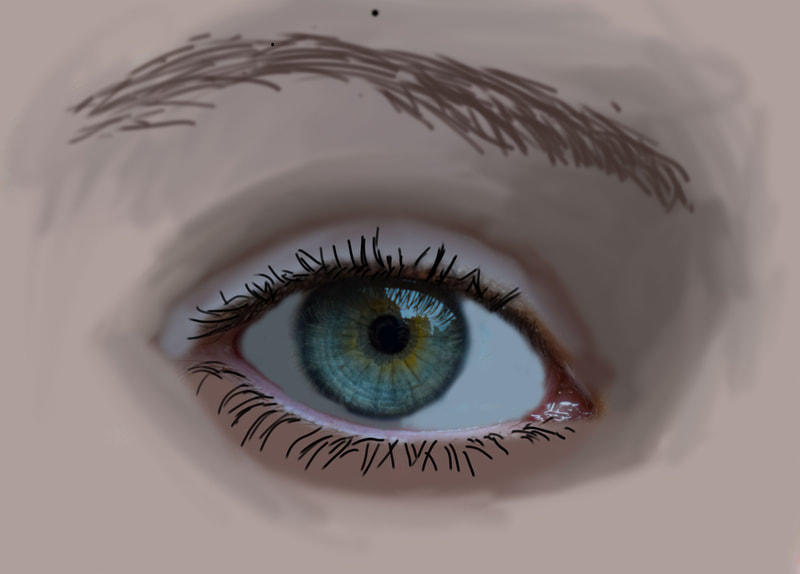
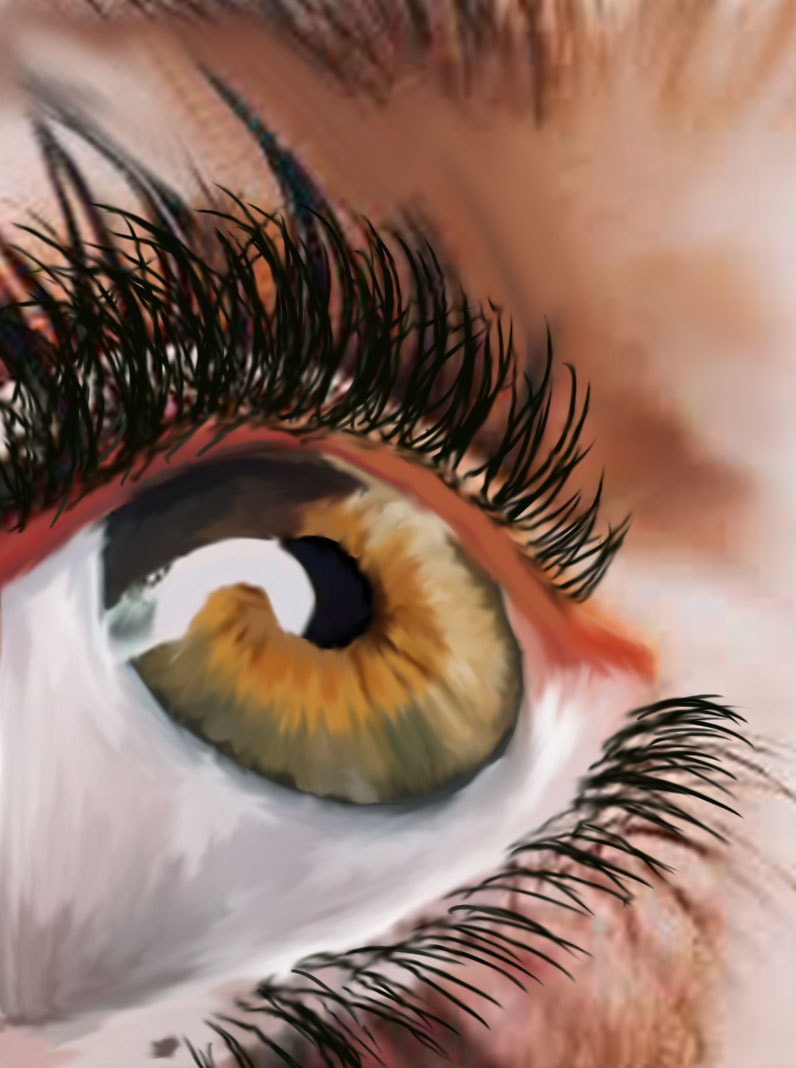
THE EYE - An Illustration
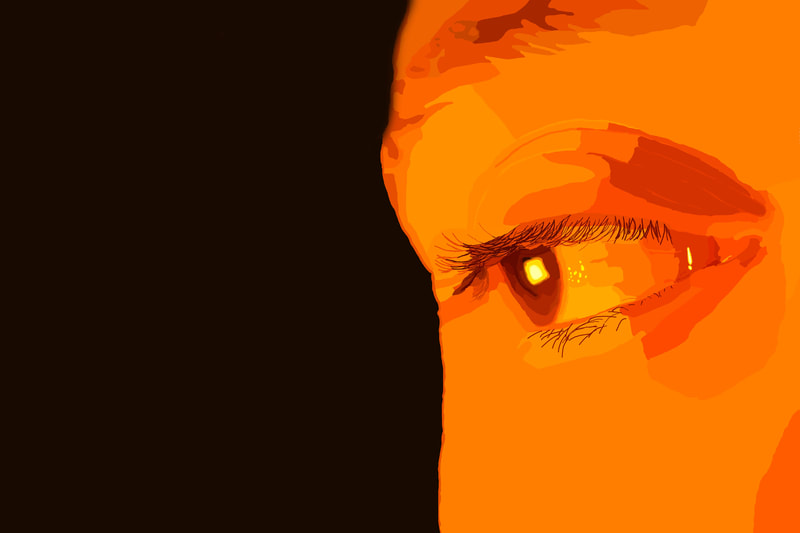
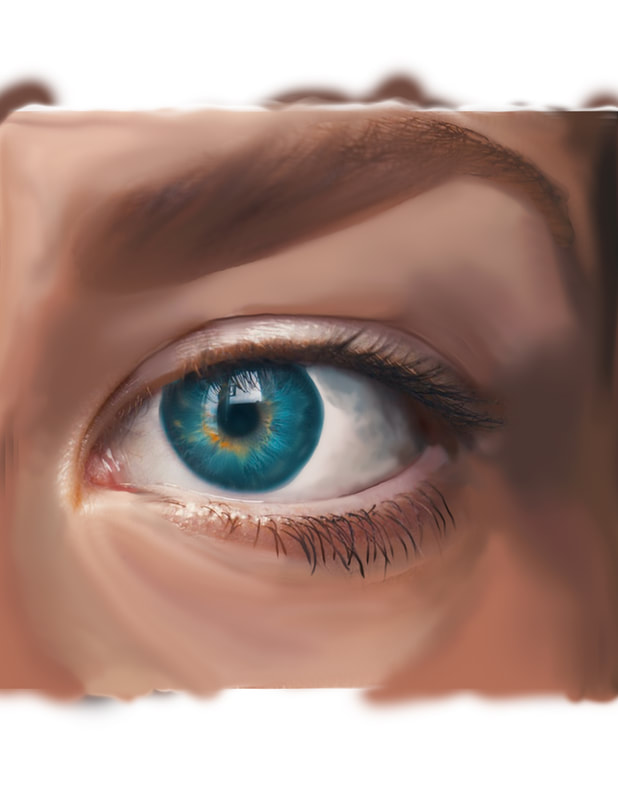
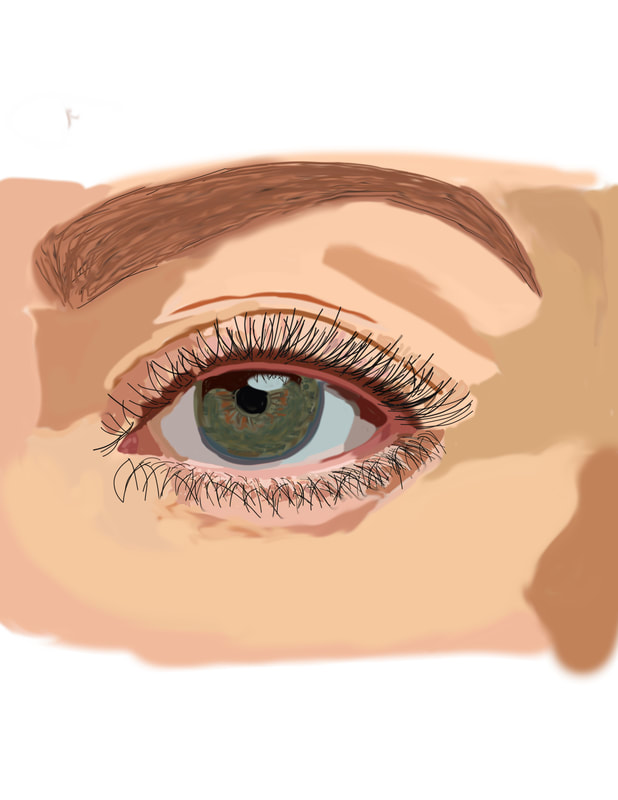
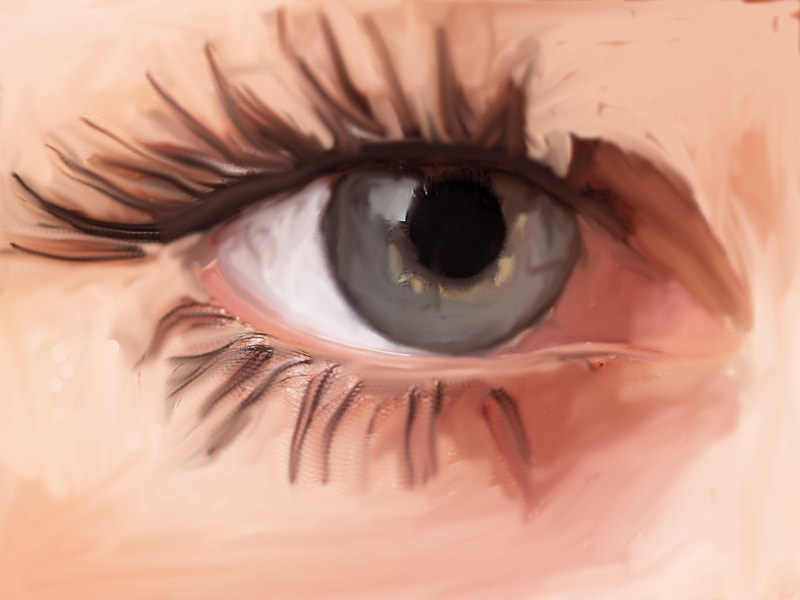
In this assignment, you will be working as an DIGITAL ILLUSTRATOR to create a digital painting of an EYE.
Here you will find the steps to complete your exploration of the BRUSH TOOL in ADOBE PHOTOSHOP.
Your OBJECTIVE in this assignment is to continue to familiarize yourself with:
Here you will find the steps to complete your exploration of the BRUSH TOOL in ADOBE PHOTOSHOP.
Your OBJECTIVE in this assignment is to continue to familiarize yourself with:
- The WORKSPACE
- Using TOOLS - particularly the BRUSH TOOL & SMUDGE TOOL
- and SAVING your files
1. HIGH-RESOLUTION IMAGE
|
Do a GOOGLE IMAGE search for a HIGH-RESOLUTION image to use for your project
To find files that have Higher-Resolution,
|
|
2. OPEN your image
|
For this assignment you will be opening your picture DIRECTLY into PHOTOSHOP so you can work.
|
|
3. CREATE A NEW LAYER!
|
Here is where you will create an EMPTY LAYER in the LAYERS PANEL to create the EYE illustration.
|
|
LAYER Visibility - ZOOM TOOL - HAND TOOL
|
|
PAINTING your EYE
|
|
Keyboard Shortcuts... |
- Hold the ALT KEY to make your BRUSH turn into the EYEDROPPER
- The [ ] KEYS change your brush size
- The SPACEBAR turns your tool into the HAND TOOL
- ctrl + Zooms in ctrl - Zooms out
ONLY WHEN YOU ARE DONE! - SAVE yOUR FILE AS A jpeg
|
In the MENU commands -
|
|
You can now turn in your work!
BE SURE TO CHECK THE FOLLOWING WHEN YOU ARE DONE...
Make sure to name your file: EYE_yourlastname
Make sure to make your EYE picture (background) LAYER invisible.
Make sure to SAVE your file as a JPEG
Make sure to SUBMIT both your .PSD file and your .JPEG file in SCHOOLOGY for assessment!
Before you turn in your file check the RUBRIC in Schoology to see what will be assessed!
Make sure to make your EYE picture (background) LAYER invisible.
Make sure to SAVE your file as a JPEG
Make sure to SUBMIT both your .PSD file and your .JPEG file in SCHOOLOGY for assessment!
Before you turn in your file check the RUBRIC in Schoology to see what will be assessed!
