Grosse Pointe North ART
  • Home
  • Classes
    • CG 1 Projects >
      • WELCOME_Assignment
      • Silhouette
      • ANIMALtrace
      • EYE - Digital Illustration
      • PORTRAIT - Digital Illustration
      • LAYER MASK Practice
      • WARHOL_Assignment
      • SPACESCAPE
    • CG 2 Projects >
      • CARTOON Trace
      • PRODUCT Trace
      • SELF-PORTRAIT
      • BACKGROUND/SELF-PORTRAIT
      • WPAP
      • CHARACTER_design
      • COMIC
      • TEXT Effects!
      • 3-D TEXT
    • CG 3 Projects >
      • CG Critique
      • Maggie Taylor
      • FOOD TRUCK Concept
      • FONT_DESIGN
    • PHOTOGRAPHY >
      • PHOTO Critique
      • PHOTO QTR 3 THEMES
      • PHOTO DOUBLE_EXPOSURE
  • EVENTS
  • Student Work
    • Scholastic
  • How To...
  • ART Careers
  • Google ART Project
  • © FREE Images!
  • MENTALhealth_Flier
  • New Page

LAYER MASK Practice

Picture

LAYER MASK PRACTICE

In this assignment, you will become familiar with the use of LAYER MASKS to isolate an object by removing the background.
  • LAYER MASKS are a NON-DESTRUCTIVE way to remove parts of a layer
  • Using the BRUSH TOOL 
  • Paint with BLACK to ERASE
  • Paint with WHITE to bring the object back
Picture

Steps...

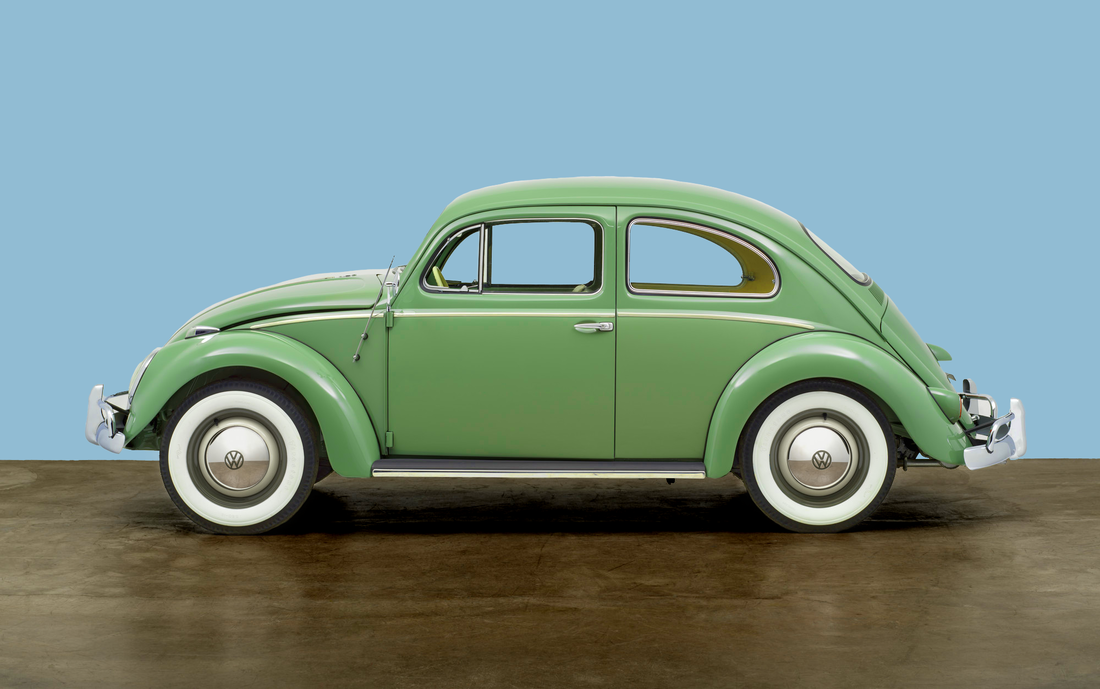
1. DOWNLOAD THE CAR FILE  

You will be using the file provided to practice you LAYER MASKING skills.
  • Download the FILE below​
  • OPEN the car file in Photoshop 
DOWNLOAD FILE
Picture

2. OPEN THE FILE

To OPEN a file, or picture, into PHOTOSHOP so you can work on it you need to choose OPEN 
  • Choose FILE in the MENU
  • Choose OPEN to open a new file  
  • FILE > OPEN > and navigate to your downloads to find the car file
  • OR click the OPEN BUTTON on Photoshop's HOME Screen
  • Save your file as a .PSD (Photoshop Document File) and give it it's proper FILE NAME
  • LayerMASK_Lastname

3. Create a LAYER mask

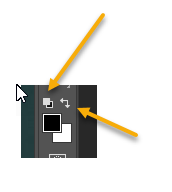
Here is where you will add a LAYER MASK to your image - there are lots of ways to do it - this is how l like to add my mask.
  • Your PANELS are on the right side
  • Find the LAYERS PANEL
  • Click the RECTANGLE with a circle on the bottom to make an LAYER MASK
  • A LAYER MASK is the white box next to your image in the LAYERS PANEL
  • If you hover your mouse over the buttons at the bottom of the layer panel, it will eventually tell you what it is...

4. BRUSH TOOL

  • Make sure you have the LAYER MASK SELECTED in the LAYERS PANEL and not your image
  • Use the BRUSH TOOL to erase the background
  • Change the SIZE of your brush when you need to 
  • Paint with BLACK to ERASE  
  • Paint with WHITE to bring back​
  • ZOOM IN so you can see all the details
Picture
  • The little black and white button fills your foreground and background colors with pure black and white
  • The double arrow button switches the background and foreground colors

5. ZOOM TOOL & HAND TOOL

The ZOOM TOOL allows you to ZOOM in and out and the HAND TOOL lets you slide your image around to work.

You may want to ZOOM-IN to trace the details of your image to make it easier to see what to erase.

GOOD  KEYBOARD SHORTCUTS TO KNOW
CTRL+
Zooms in 
CTRL- Zooms Out
SPACE BAR is the MOVE TOOL

6. CUT THE BACKGOUND OUT

Your goal is to use a LAYER MASK to cut out the entire background including the inside of the windows
  • When you have removed ALL of the background, make sure to APPLY your LAYER MASK
  • Bring your mouse over your LAYER MASK in the LAYERS PANEL
  • RIGHT CLICK over the LAYER MASK and choose
  • APPLY LAYER MASK
  • This should remove all the background

Finished work

SAVE as a .PNG Image File

Now it is time to convert your .PSD file into a .PNG to turn in.
In the MENU commands -
  • Choose FILE
  • then SAVE A COPY...
  • then NAME your file properly LayerMASK_lastname
  • then choose "Save as type" .PNG
  • PNG FORMAT OPTIONS window choose Large file size
  • Now click OK!​
If you choose SAVE or SAVE AS...
Picture
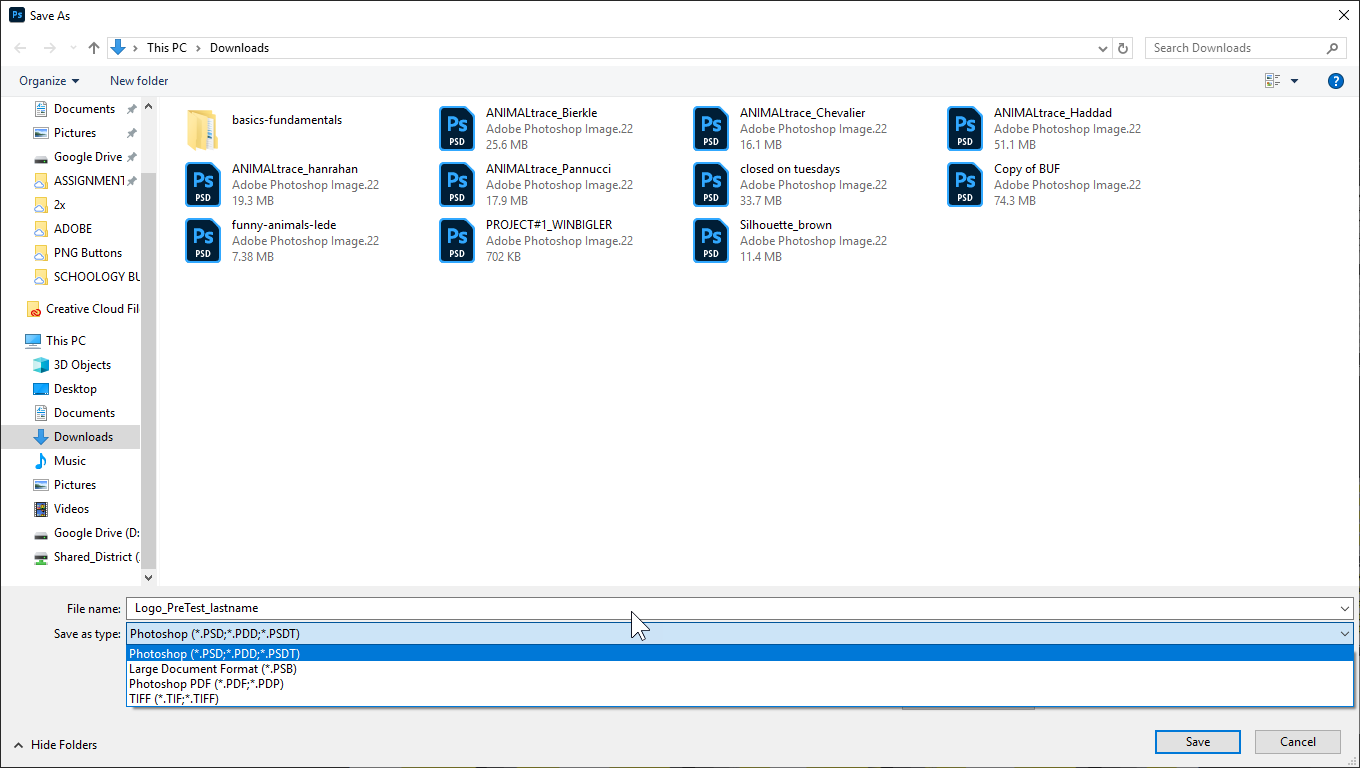
There is no option to save as a PNG when your click SAVE or SAVE AS
Picture
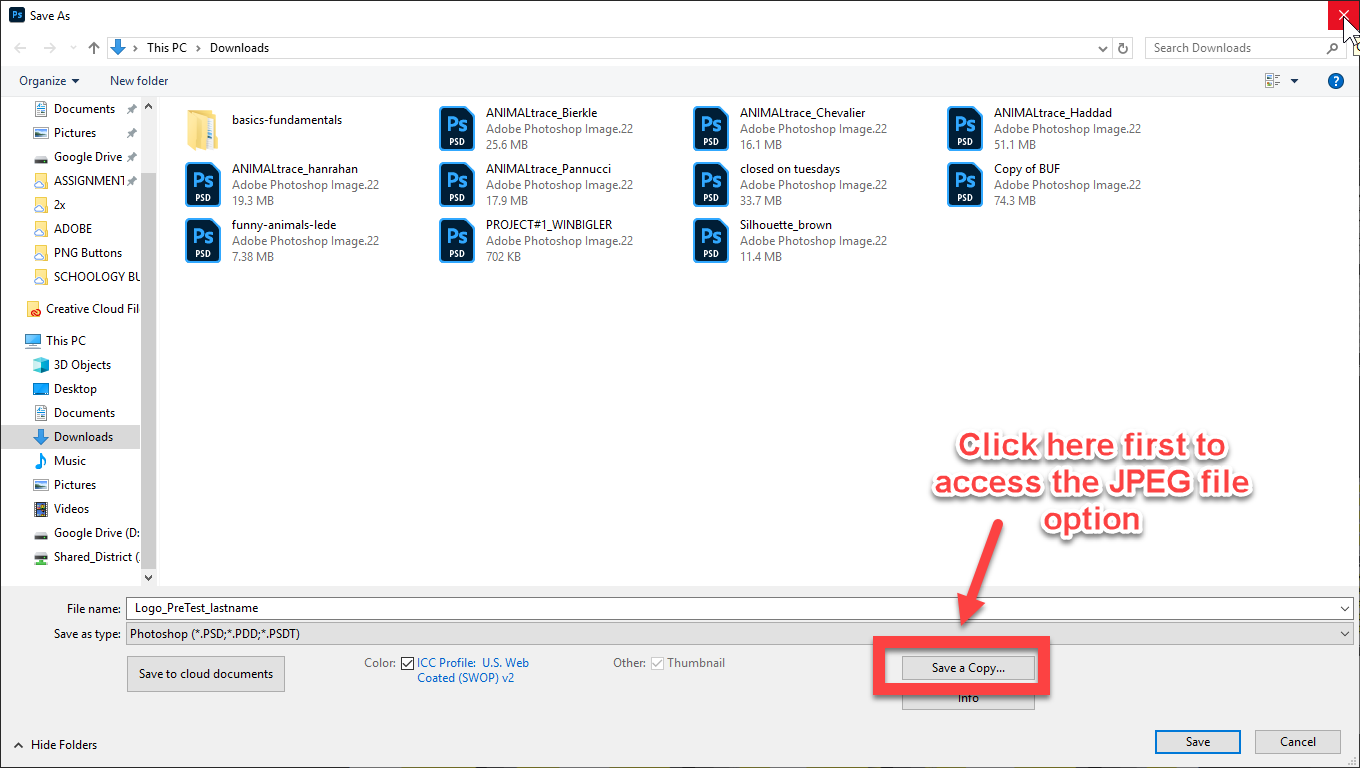
You need to first click SAVE A COPY to get to the PNG option
Picture
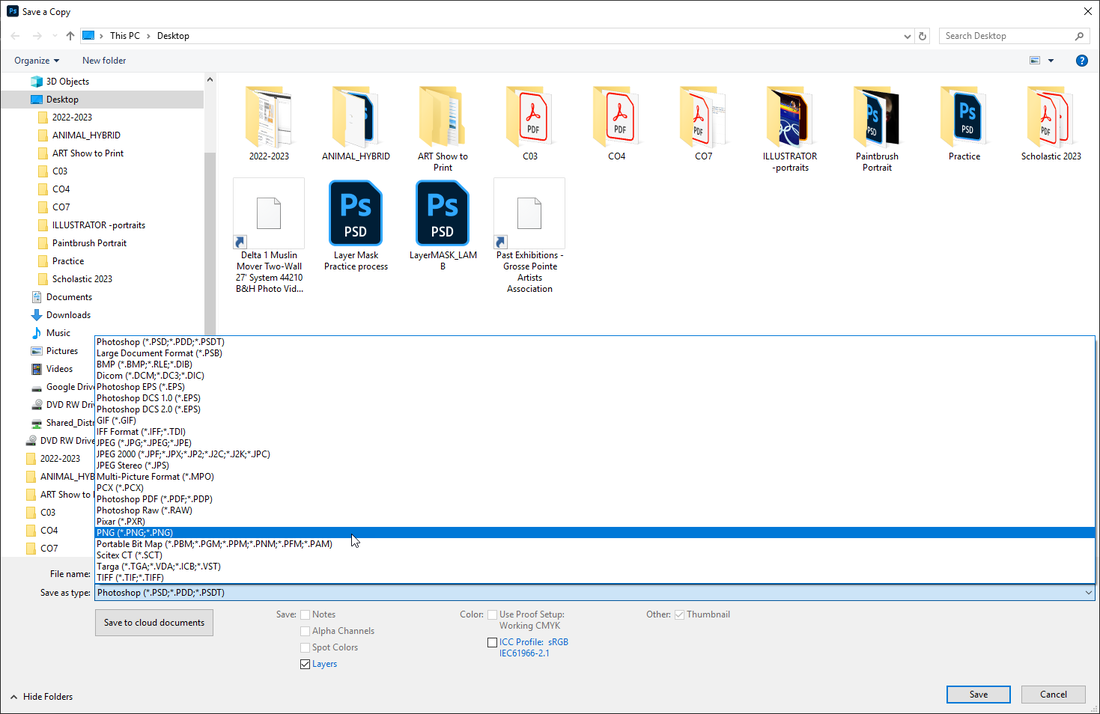
You can now choose the plain PNG as your file type
BE SURE TO CHECK THE FOLLOWING WHEN YOU ARE DONE...

          Make sure to name your file:   LayerMASK_lastname

          Make sure to SAVE your file as a PNG

          Make sure to SUBMIT both your .PSD file and your .PNG file in SCHOOLOGY for assessment!
​ 

          Before you turn in your file check the RUBRIC in Schoology to see what will be assessed!