Grosse Pointe North ART
  • Home
  • Classes
    • CG 1 Projects >
      • WELCOME_Assignment
      • Silhouette
      • ANIMALtrace
      • EYE - Digital Illustration
      • PORTRAIT - Digital Illustration
      • LAYER MASK Practice
      • WARHOL_Assignment
      • SPACESCAPE
    • CG 2 Projects >
      • CARTOON Trace
      • PRODUCT Trace
      • SELF-PORTRAIT
      • BACKGROUND/SELF-PORTRAIT
      • WPAP
      • CHARACTER_design
      • COMIC
      • TEXT Effects!
      • 3-D TEXT
    • CG 3 Projects >
      • CG Critique
      • Maggie Taylor
      • FOOD TRUCK Concept
      • FONT_DESIGN
    • PHOTOGRAPHY >
      • PHOTO Critique
      • PHOTO QTR 3 THEMES
      • PHOTO DOUBLE_EXPOSURE
  • EVENTS
  • Student Work
    • Scholastic
  • How To...
  • ART Careers
  • Google ART Project
  • © FREE Images!
  • MENTALhealth_Flier
  • New Page

DIGITAL PORTRAIT

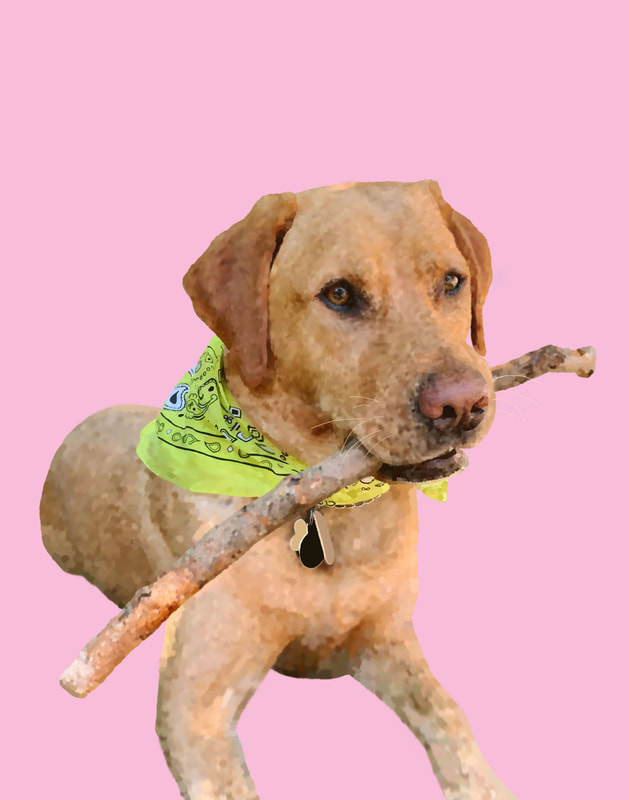
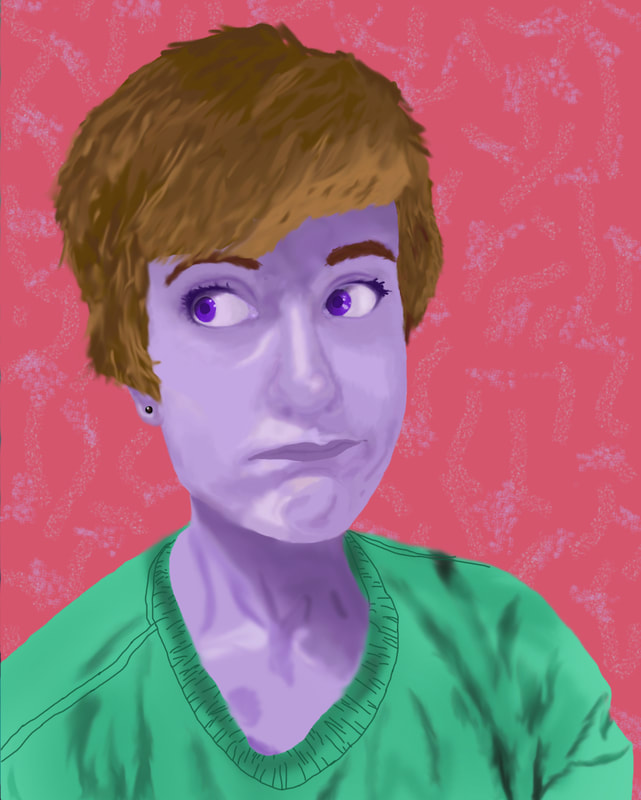
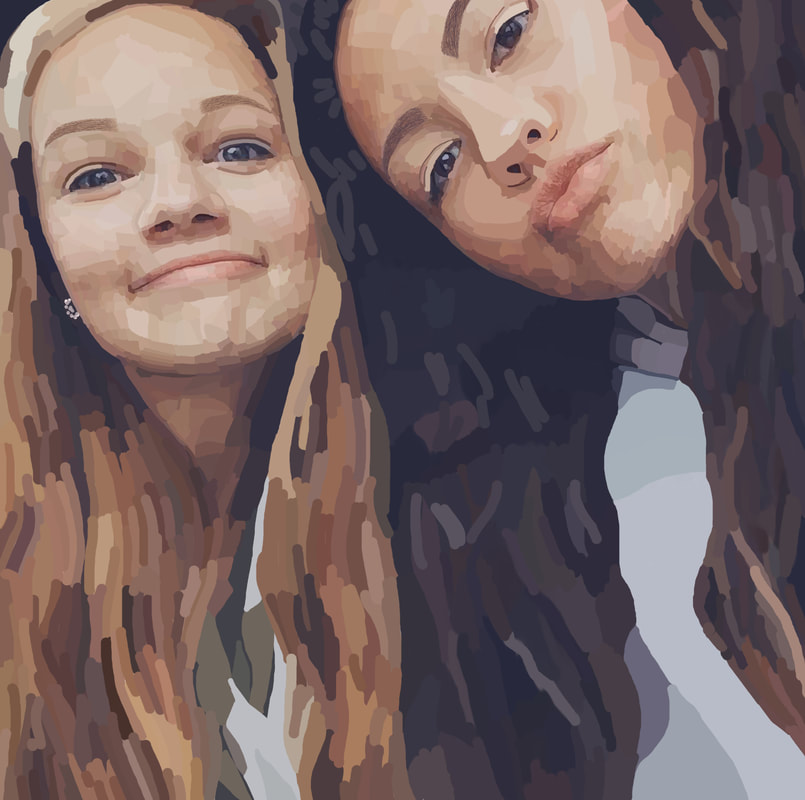
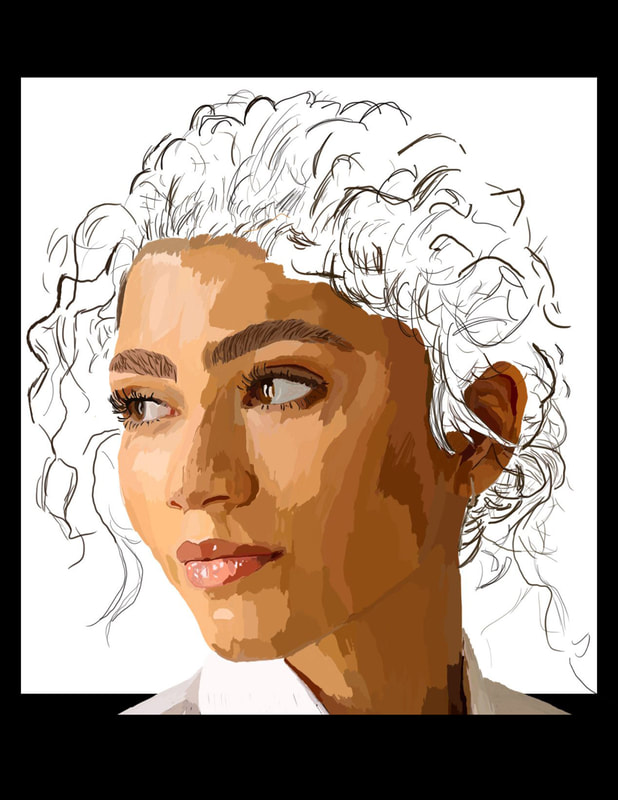
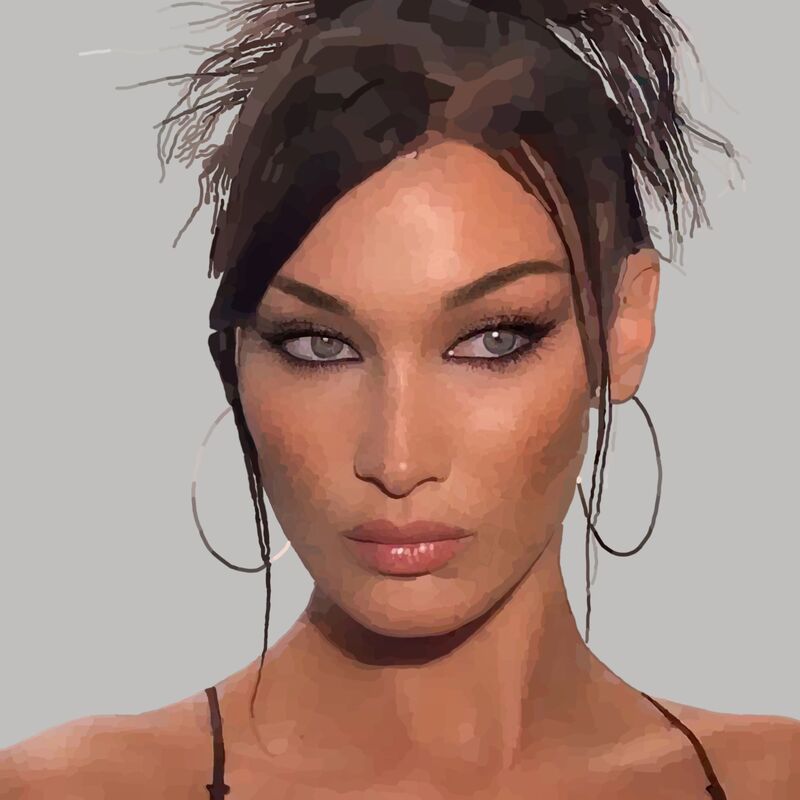
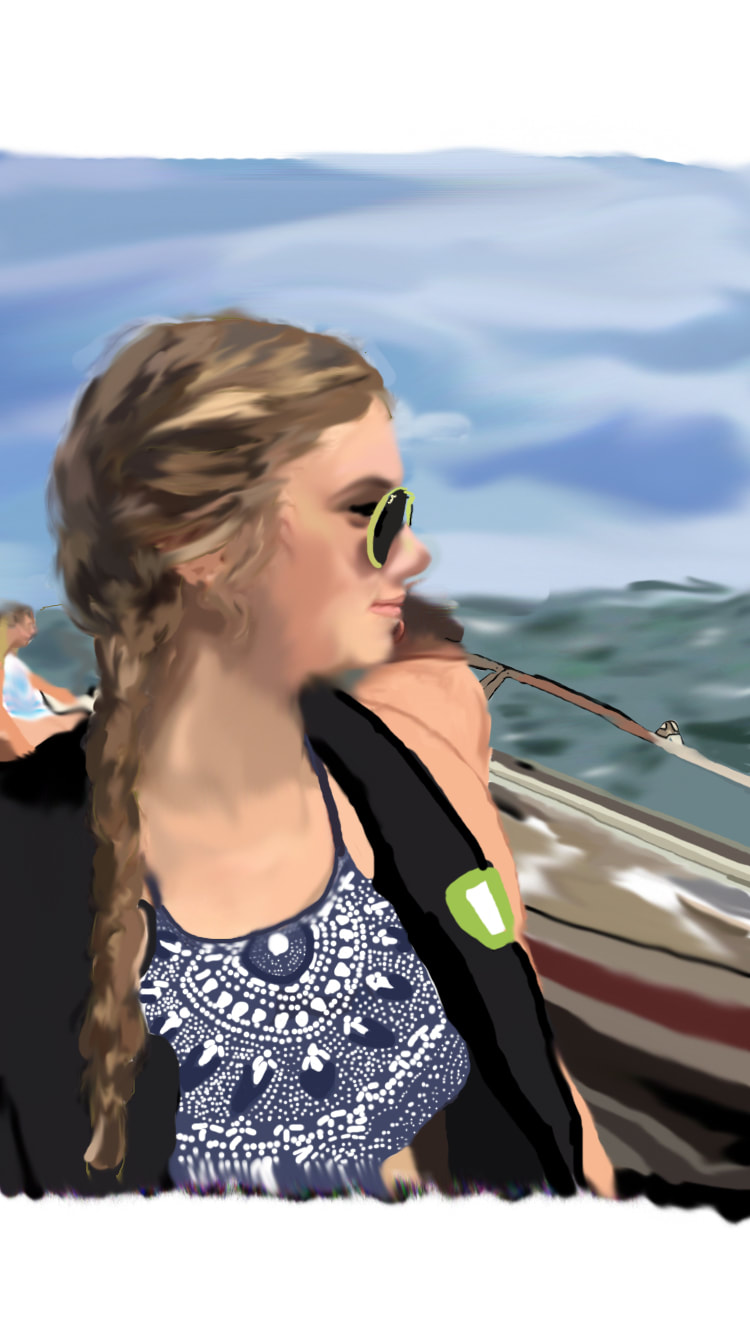
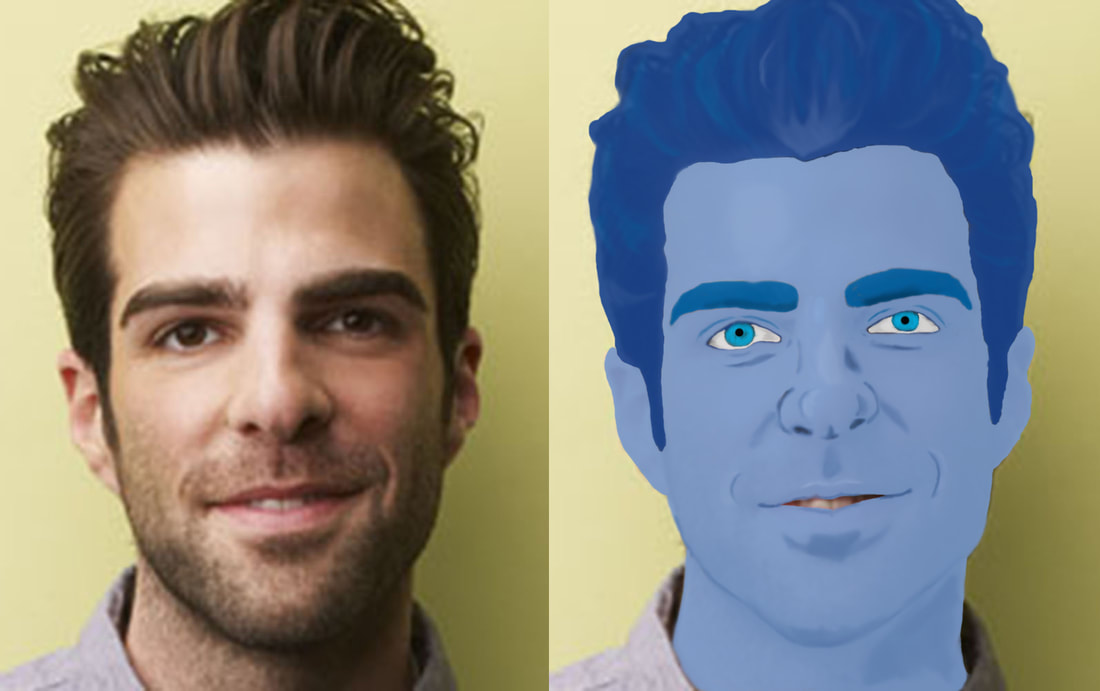
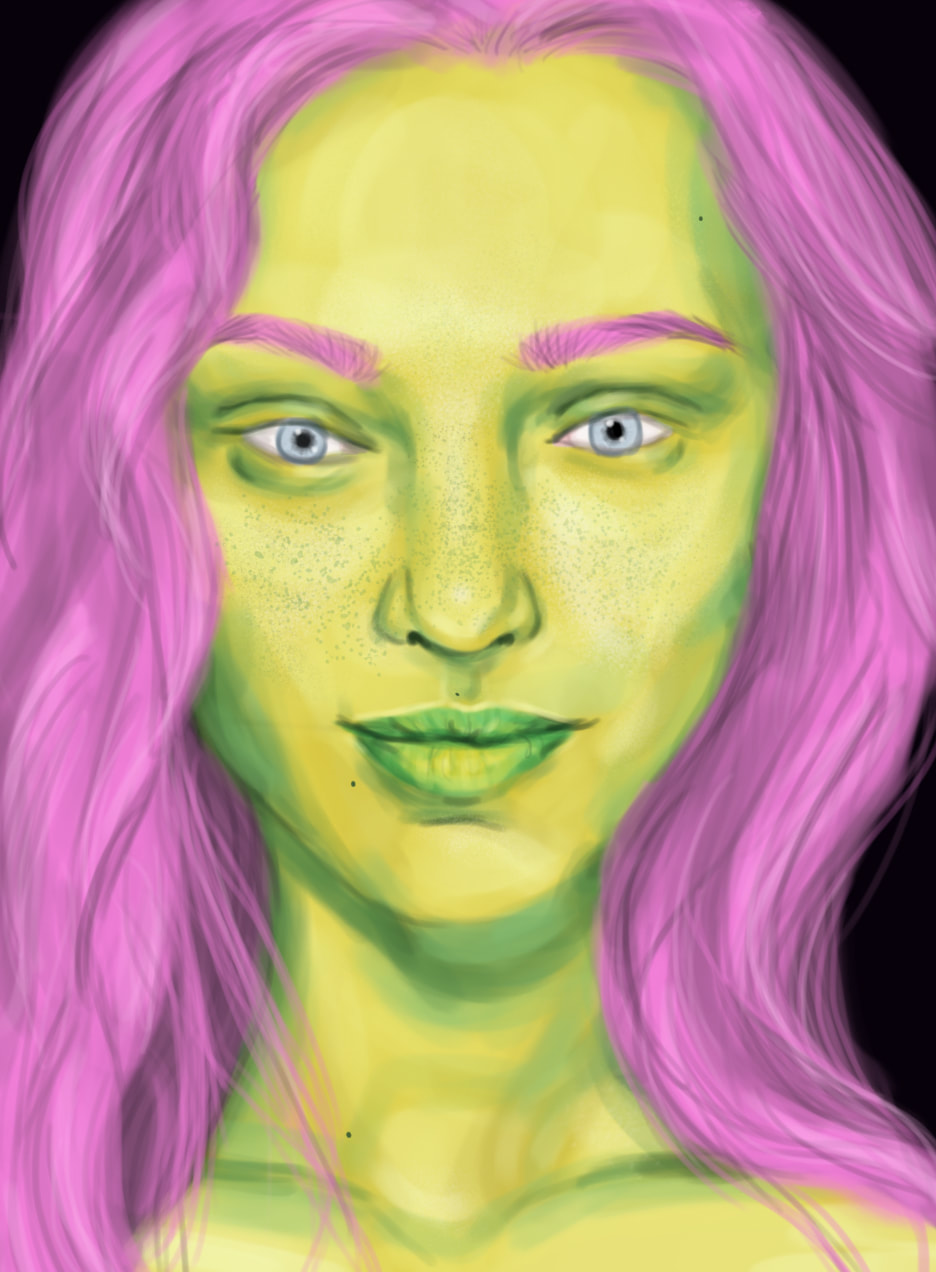
DIGITAL PORTRAIT - An Illustration

In this assignment, you will be working as an DIGITAL ILLUSTRATOR to create a digital painting of an PORTRAIT. 
Here you will find the steps to complete your exploration of the 
BRUSH TOOL in ADOBE PHOTOSHOP.
​

Your OBJECTIVE in this assignment is to continue to familiarize yourself with:
  • The WORKSPACE
  • Using TOOLS - particularly the BRUSH TOOL & SMUDGE TOOL
  • and SAVING your files

​1. HIGH-RESOLUTION IMAGE 

Do a GOOGLE IMAGE search for a HIGH-RESOLUTION image or use one of your own photographs for your project!

To find files that have Higher-Resolution, 
  • Do your IMAGE SEARCH
  • then choose TOOLS 
  • Then choose LARGE
  • Choose a picture that has a "PORTRAIT" this can be a celebrity, someone famous - or your own photograph!
  • Hover your mouse over the IMAGE and make sure it has enough pixels - This image is 2559 x 1439. The smallest number is at least 1000 so it's good!
  • Right Click the image you like and choose
  • Save image as... to download to your computer or if you are on a Chromebook to your GOOGLE DRIVE

2. OPEN your image

For this assignment you will be opening your picture DIRECTLY into PHOTOSHOP.
  • Choose OPEN in the MENU or on the left of your WORKSPACE
  • Navigate to the image your found and choose OPEN - the image file will either be in your DOWNLOADS folder or in your GOOGLE DRIVE (Chromebook)
  • Choose the CROP TOOL to remove any unwanted extra space
  • Then SAVE YOUR FILE (FILE > SAVE AS) and MAKE SURE IT IS SAVED AS a .PSD (Photoshop Document file)
  • If it asks for MAXIMUM COMPATIBILITY click OK!

3. CREATE A NEW LAYER!

Here is where you will create an EMPTY LAYER in the LAYERS PANEL to create the EYE illustration.
  • Your PANELS are on the right side
  • Find the LAYERS PANEL
  • You can adjust your WORKSPACE to suit how you work - here you see me move the LAYERS PANEL and hide any PANELS that I won't need.
  • Click the SMALL + on the bottom to make an empty layer
  • Name the layer PORTRAIT by double-clicking the text
  • Make sure this empty layer is selected to paint!

LAYER Visibility - ZOOM TOOL - HAND TOOL

  • Use the ZOOM TOOL (CTRL + & CTRL -) to see small details and zoom out to get the whole picture.
  • The HAND TOOL (SPACEBAR) allows you to move your zoomed image around the WORKSPACE
  • You can make your LAYERS VISIBLE or INVISIBLE when you click on the EYE Icon in the LAYERS PANEL
  • SAVE as you go!

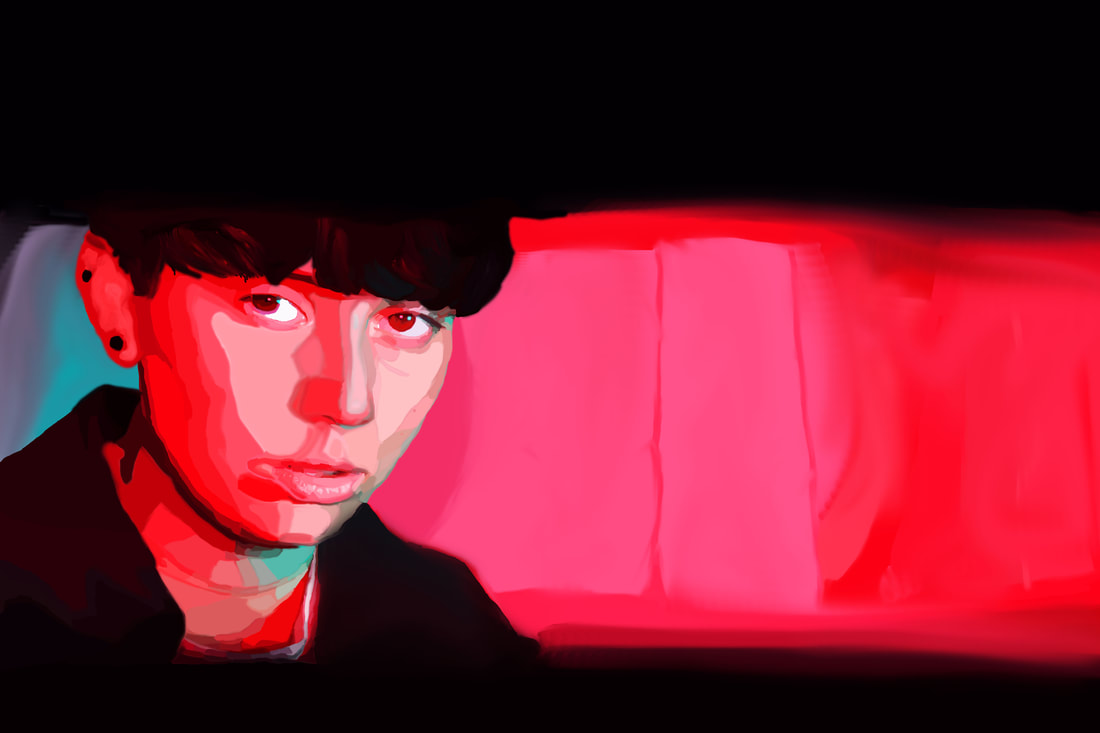
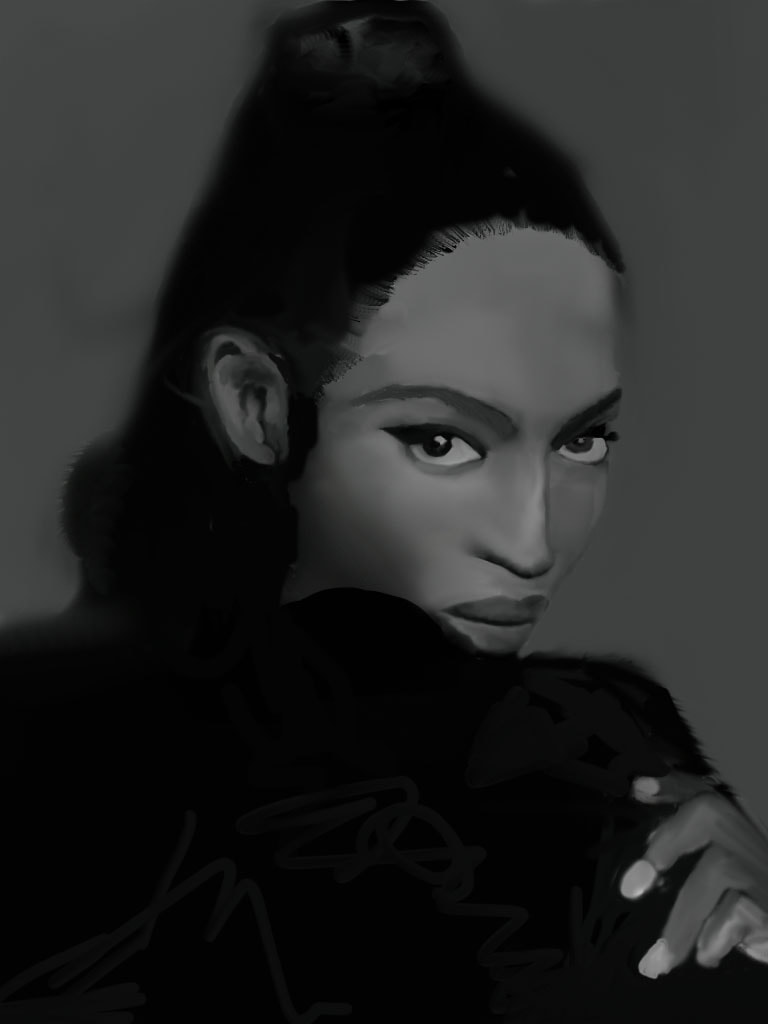
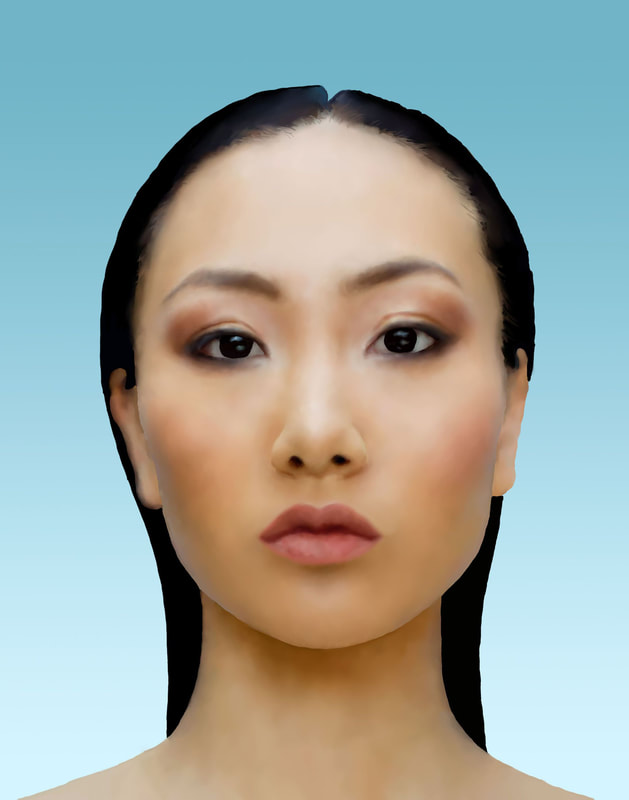
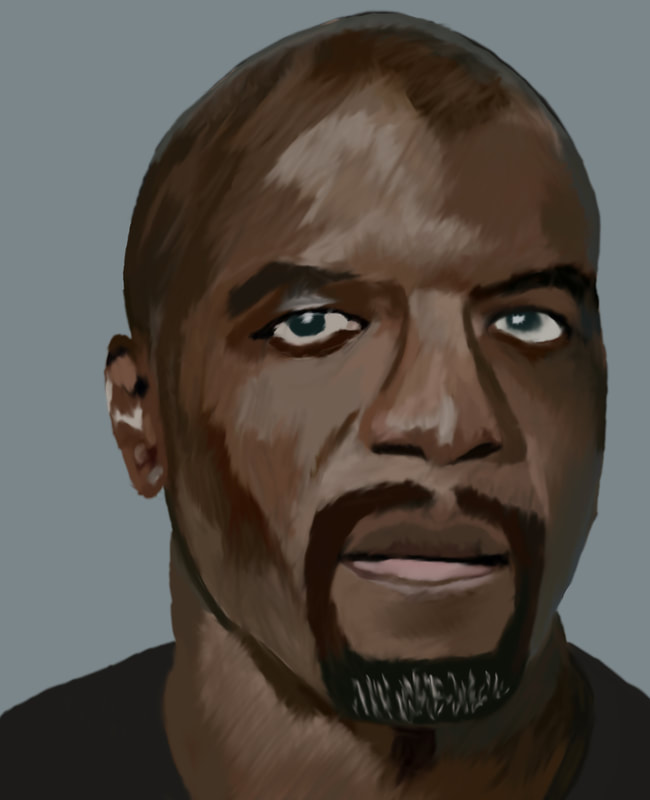
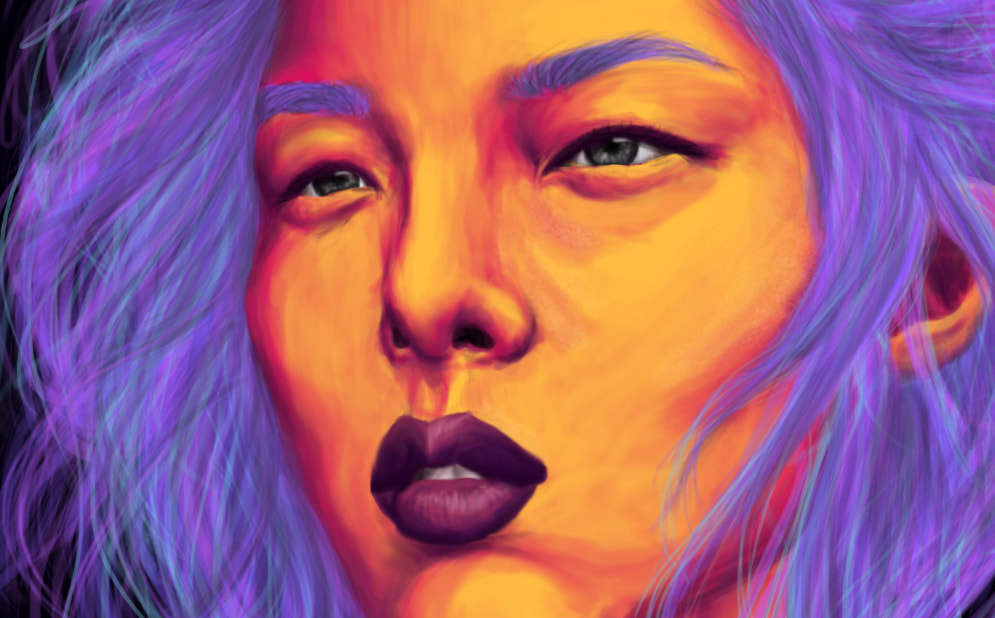
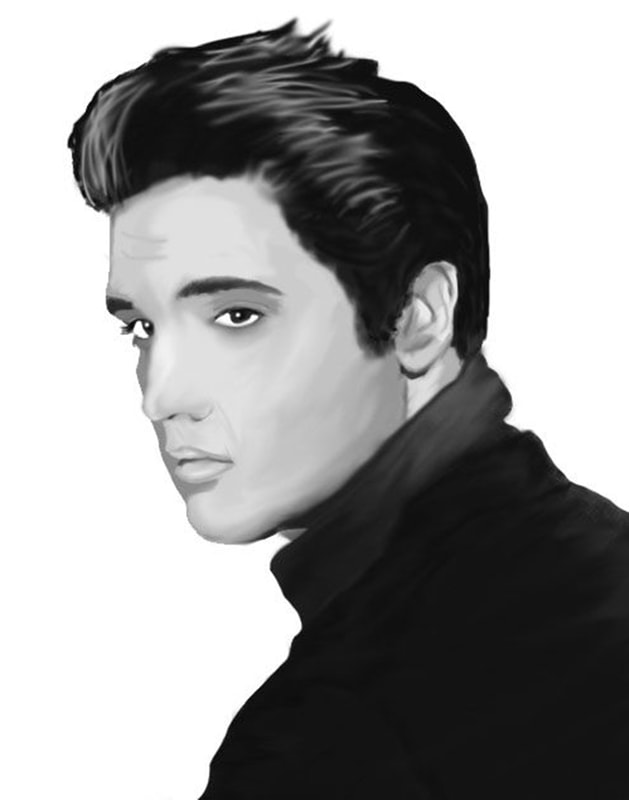
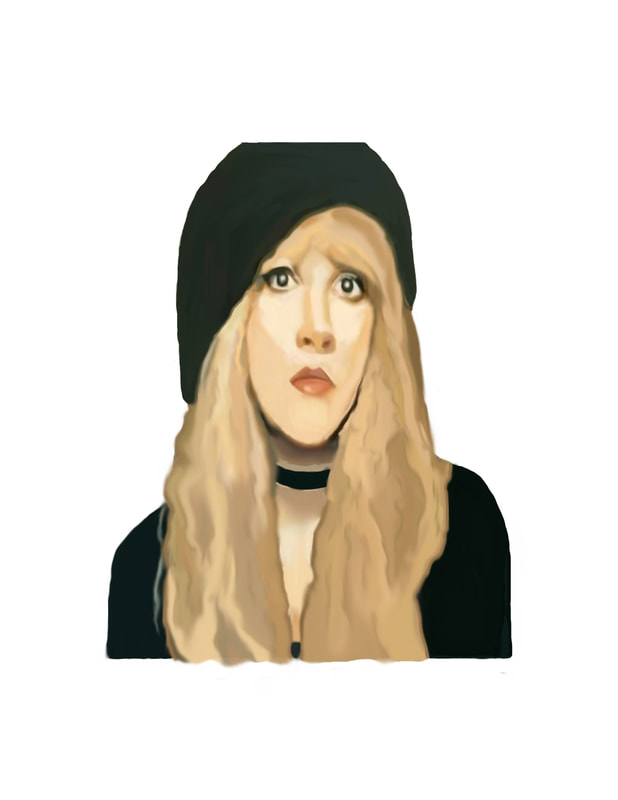
PAINTING your PORTRAIT

  • Make sure you are painting on your transparent layer
  • Use your EYEDROPPER TOOL to select exact colors from your image
  • Switch to your BRUSH TOOL to apply small areas of color
  • Use your SMUDGE TOOL to blend colors (the SMUDGE TOOL can be found under the BLUR TOOL - hold your mouse button until the other tools are revealed.
  • You will slowly develop a technique that works for you!
  • If you smudge too much, your color becomes transparent...
  • You can add more than one LAYER if this helps you work.

HANDY Keyboard Shortcuts...

  • Hold the ALT KEY to make your BRUSH turn into the EYEDROPPER
  • The [ ] KEYS change your brush size
  • The SPACEBAR turns your tool into the HAND TOOL
  • ctrl + ​Zooms in ctrl - Zooms out

ONLY WHEN YOU ARE DONE! - SAVE yOUR FILE AS A jpeg

In the MENU commands -
  • FIRST, make your original EYE picture INVISIBLE in the LAYERS PANEL by clicking on the EYE ICON
  • In this example, the student added 2 LAYERS to work...
  • Choose FILE
  • then SAVE A COPY... (FILE > SAVE A COPY...)
  • then NAME your file properly (PORTRAIT_LastName)
  • then choose "Save as type" .JPEG (*JPG;*JPEG;*JPE)
  • JPEG OPTIONS window choose 8 HIGH with the slider
  • You can also save at a higher quality if you wish - 8 HIGH is perfect for Schoology.
​

​You can now turn in your work!

BE SURE TO CHECK THE FOLLOWING WHEN YOU ARE DONE...
Make sure to name your file:   PORTRAIT_yourlastname

Make sure to make your EYE picture (background) LAYER invisible.

Make sure to SAVE your file as a JPEG

Make sure to SUBMIT both your .PSD file and your .JPEG file in SCHOOLOGY for assessment!
​ 

Before you turn in your file check the RUBRIC in Schoology to see what will be assessed!

STUDENT WORK