Grosse Pointe North ART
  • Home
  • Classes
    • CG 1 Projects >
      • WELCOME_Assignment
      • Silhouette
      • ANIMALtrace
      • EYE - Digital Illustration
      • PORTRAIT - Digital Illustration
      • LAYER MASK Practice
      • WARHOL_Assignment
      • SPACESCAPE
    • CG 2 Projects >
      • CARTOON Trace
      • PRODUCT Trace
      • SELF-PORTRAIT
      • BACKGROUND/SELF-PORTRAIT
      • WPAP
      • CHARACTER_design
      • COMIC
      • TEXT Effects!
      • 3-D TEXT
    • CG 3 Projects >
      • CG Critique
      • Maggie Taylor
      • FOOD TRUCK Concept
      • FONT_DESIGN
    • PHOTOGRAPHY >
      • PHOTO Critique
      • PHOTO QTR 3 THEMES
      • PHOTO DOUBLE_EXPOSURE
  • EVENTS
  • Student Work
    • Scholastic
  • How To...
  • ART Careers
  • Google ART Project
  • © FREE Images!
  • MENTALhealth_Flier
  • New Page

PAINTBRUSH SILHOUETTE

Picture

Paintbrush Silhouette

Here you will find the steps to complete your exploration of the PAINTBRUSH TOOL in ADOBE PHOTOSHOP.
Your OBJECTIVE in this assignment is to begin to familiarize yourself with:
  • The WORKSPACE
  • Using TOOLS - particularly the PAINTBRUSH TOOL
  • and SAVING your files
Picture

Steps...

1. HIGH-RESOLUTION IMAGE 

Do a GOOGLE IMAGE search for a HIGH-RESOLUTION image to use for your project

To find files that have Higher-Resolution, 
  • Do your image search
  • then choose TOOLS 
  • Then choose LARGE
  • Choose a picture that has a "Human in Action"
  • Right Click the image you like and choose
  • Save image as... to download to your computer
Picture
High Resoultion Image - Picture is detailed and clear
Picture
Low-Resolution Image - Picture is fuzzy

2. PLACE a File

To bring a file, or picture, into PHOTOSHOP so you can work on it you need to PLACE your image
  • Choose FILE in the MENU
  • Choose NEW to create a new file  (FILE > NEW...)
  • For this assignment - choose LETTER
  • Choose FILE in the MENU
  • Choose PLACE EMBEDDED  (FILE > PLACE EMBEDDED)
  • Navigate to the image your found and choose PLACE
  • Resize the image to fit your letter sized file
  • Choose the CROP TOOL to remove the extra space
  • Then SAVE YOUR FILE
  • If MAXIMIZE COMPATIBILITY window opens, choose OK!

3. Create a NEW LAYER

Here is where you will create an EMPTY LAYER in the LAYERS PANEL to paint your silhouette
  • Your PANELS are on the right side
  • Find the LAYERS PANEL
  • Click the SMALL + on the bottom to make an empty layer
  • Name the layer Silhouette by double-clicking the text
  • Make sure this empty layer is selected to paint!

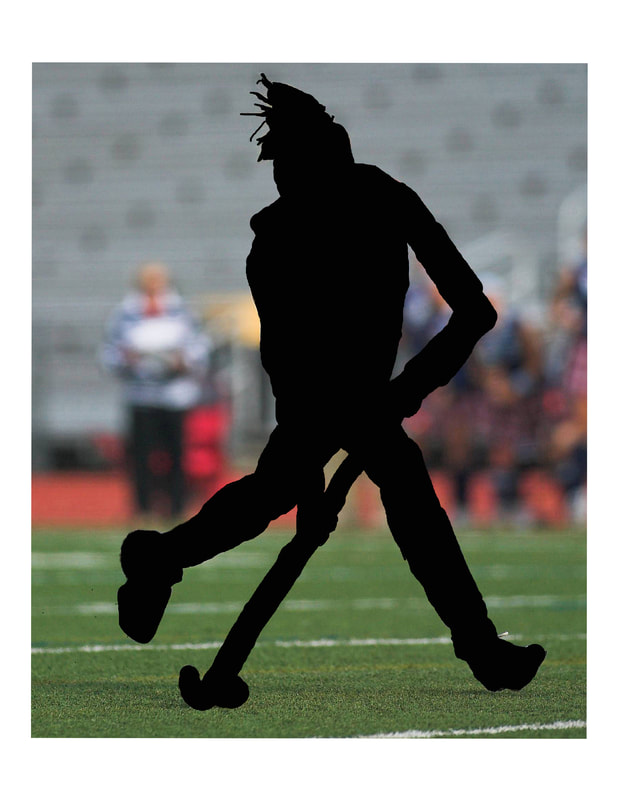
4. BRUSH TOOL Settings

You can change the specifics of your BRUSH TOOL in the OPTIONS BAR at the top.
  • Make sure your brush HARDNESS is set to 100% so that it is not fuzzy
  • Change the SIZE of your brush with the slider 
  • COLOR can be chosen in many ways from your PANELS on the right - COLOR, SWATCHES 

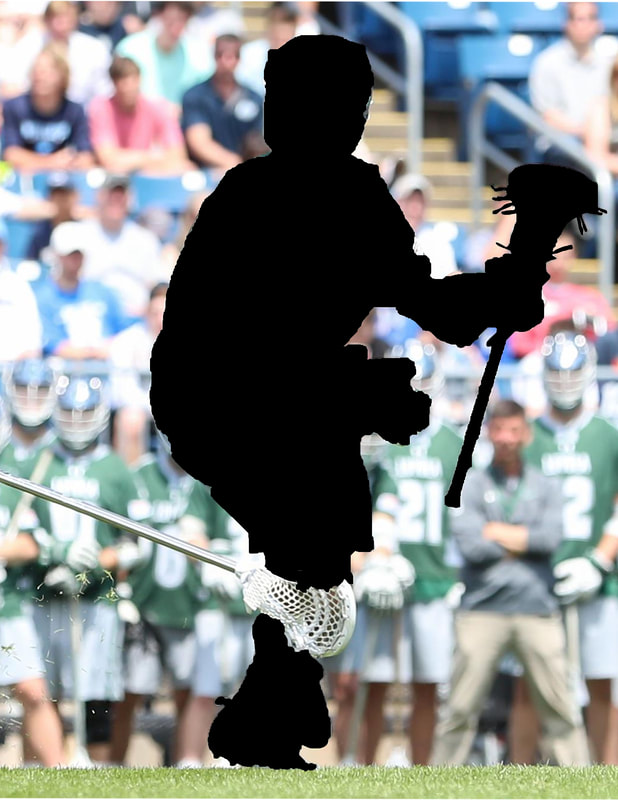
5. ZOOM TOOL & HAND TOOL

The ZOOM TOOL allows you to ZOOM in and out and the HAND TOOL lets you slide your image around to work.

You may want to ZOOM-IN to trace the details of your image
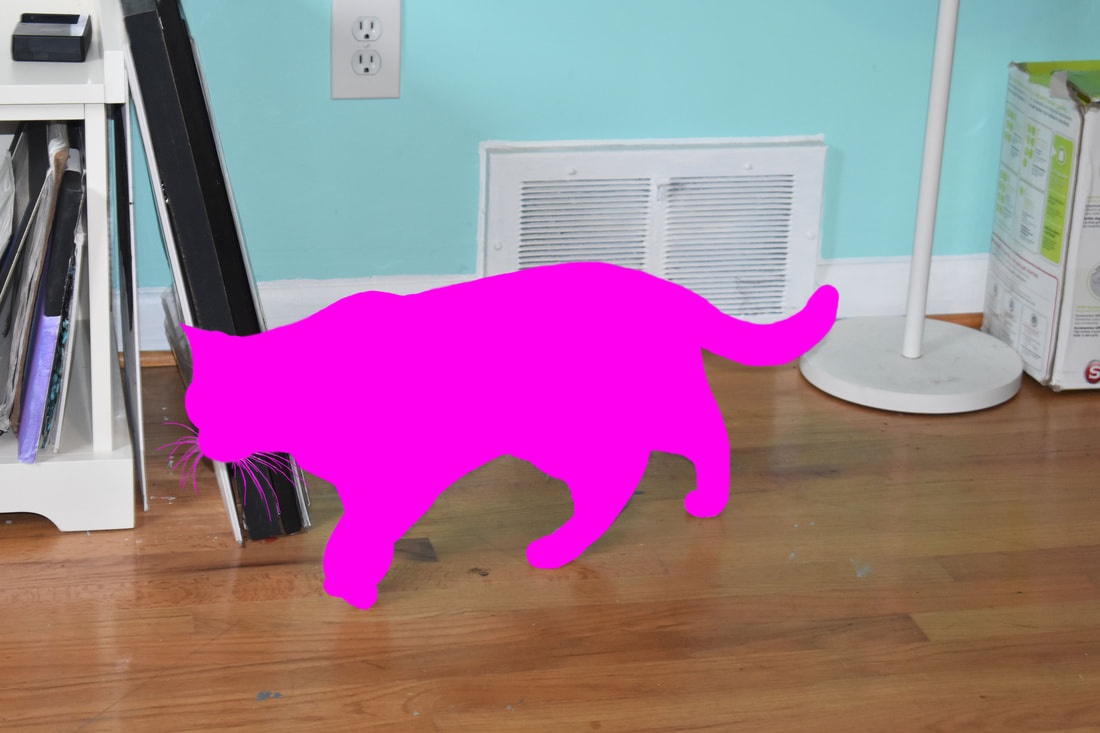
6. ERASER TOOL

You can use the ERASER TOOL to remove mistakes - you should not be erasing your IMAGE if you have been painting on a TRANSPARENT LAYER and that LAYER IS SELECTED!
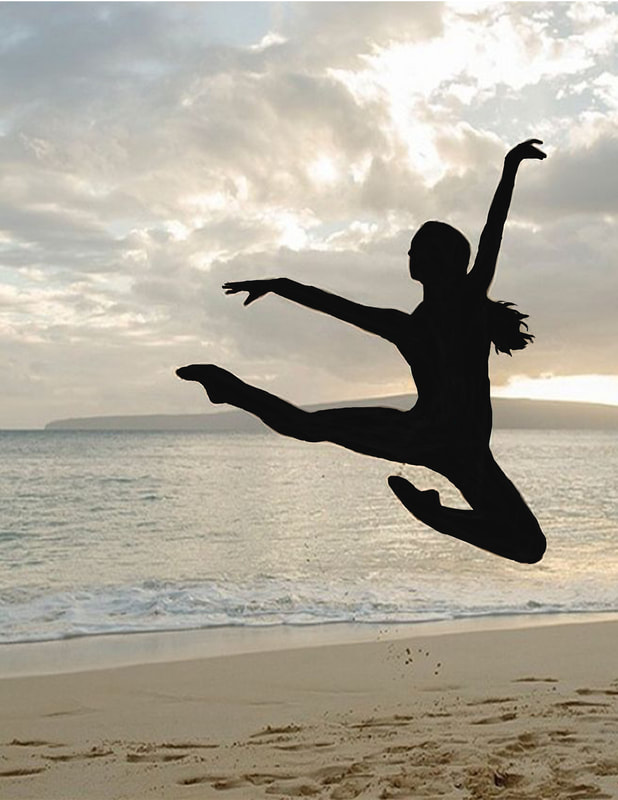
Finished Silhouette

Picture

SAVE as a .JPEG Image File

Now it is time to convert your .PSD file into a .JPEG to turn in.
In the MENU commands -
  • Choose FILE
  • then SAVE AS...
  • then NAME your file properly Silhouette_lastname
  • then choose "Save as type" .JPEG (*JPG;*JPEG;*JPE)
  • JPEG OPTIONS window choose 8 HIGH in IMAGE OPTIONS
  • If MAXIMIZE COMPATIBILITY window opens, choose OK!​
Picture
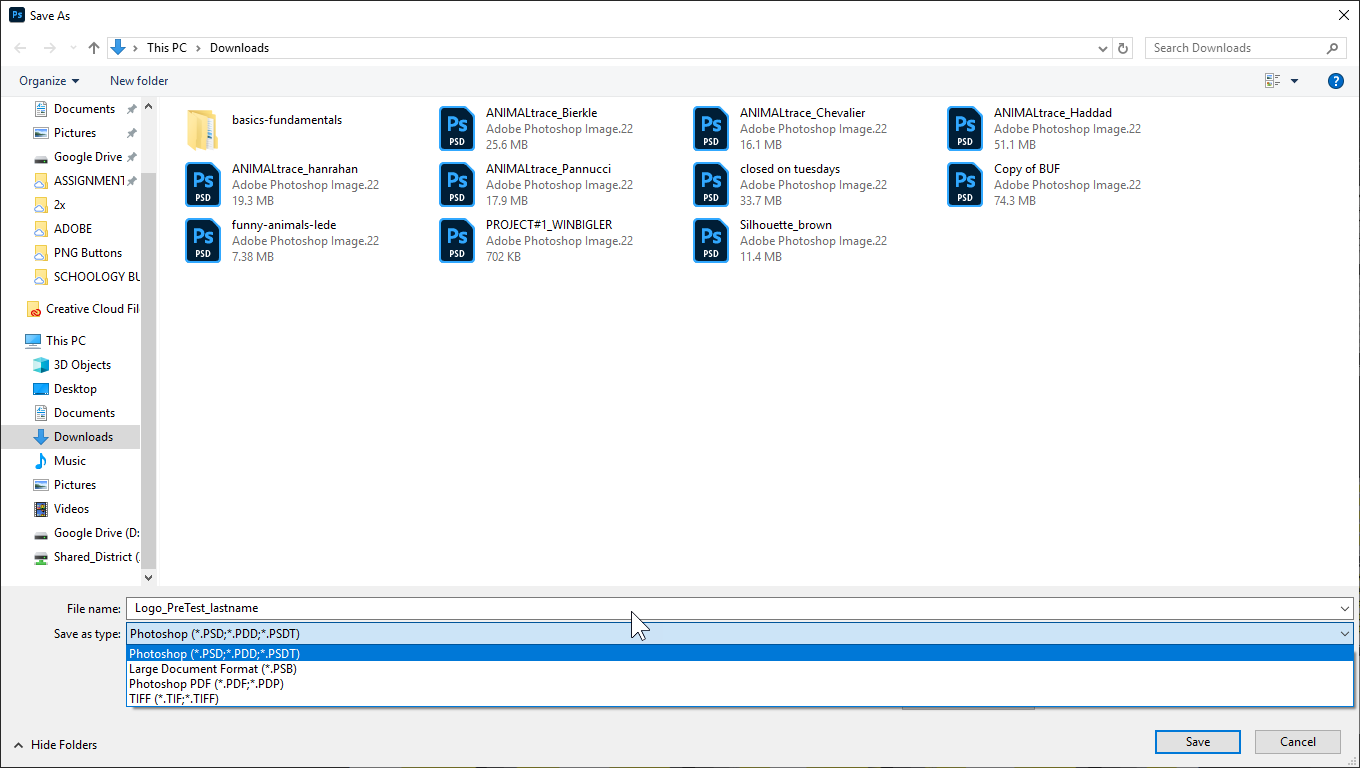
There is no option to save as a JPEG when your click SAVE or SAVE AS
Picture
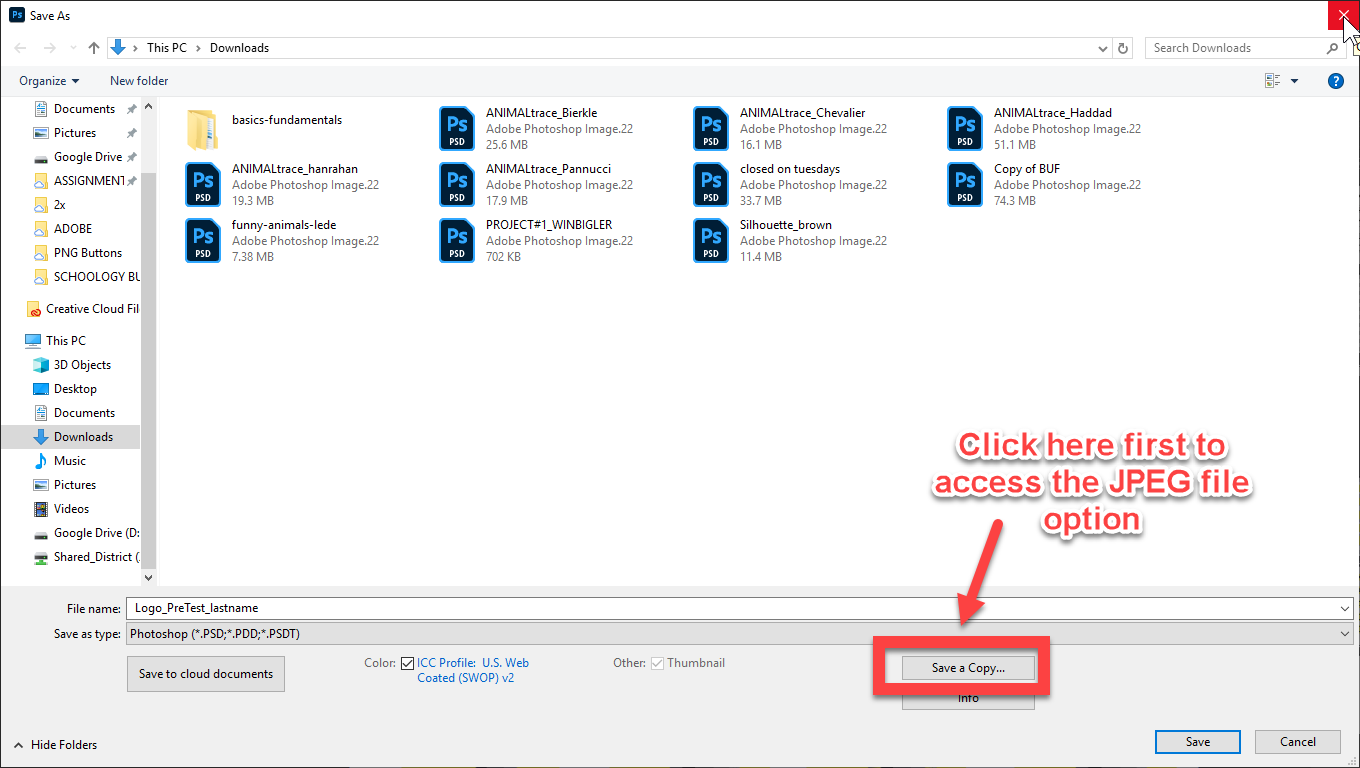
You need to first click SAVE A COPY to get to the JPEG option
Picture
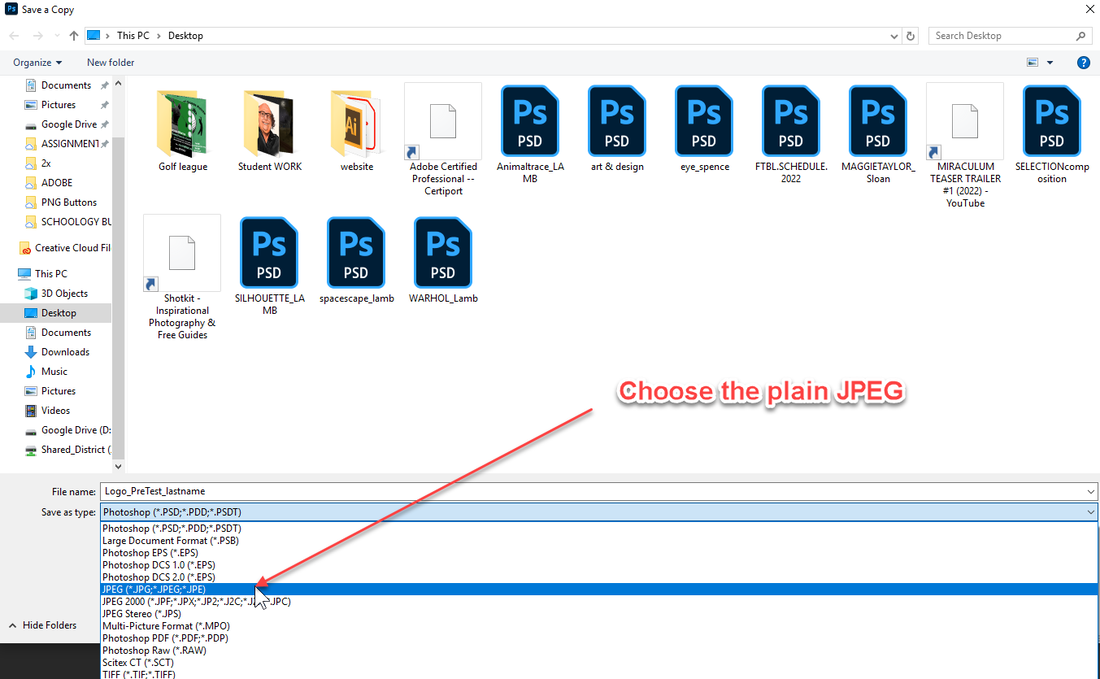
You can now choose the plain JPEG as your file type
BE SURE TO CHECK THE FOLLOWING WHEN YOU ARE DONE...

          Make sure to name your file:   SILHOUETTE_lastname

          Make sure to SAVE your file as a JPEG

          Make sure to SUBMIT both your .PSD file and your .JPEG file in SCHOOLOGY for assessment!
​ 

          Before you turn in your file check the RUBRIC in Schoology to see what will be assessed!

STUDENT WORK