
FONT DESIGN Project
There are 3 main steps in this assignment to turn in:
- HAND-DRAWN ALPHABET - You will hand-draw all the CAPITAL LETTERS in the alphabet and NUMBERS 0-9 with a pencil or pen (Drawing). Take a picture of your sketches and submit to Schoology.
- DIGITIZE your FONT using Adobe ILLUSTRATOR. Use your alphabet drawing to trace VECTORS in Adobe ILLUSTRATOR.
- CREATE LOGO with GRAPHIC - Develop a LOGO using your new FONT and include a VECTOR BASED GRAPHIC to showcase your hand-designed FONT.
This project is a challenge so take your time - work hard - and be creative!
FONT DESIGN
Professional font design takes years to master, but this shouldn’t dissuade you from learning the process. Once you understand the steps needed to create a new font you may be surprised how easily they can be replicated.
Font Fundamentals
It's important that you understand how typography is structured before you start designing characters. The design phase requires knowledge of terms like:
|
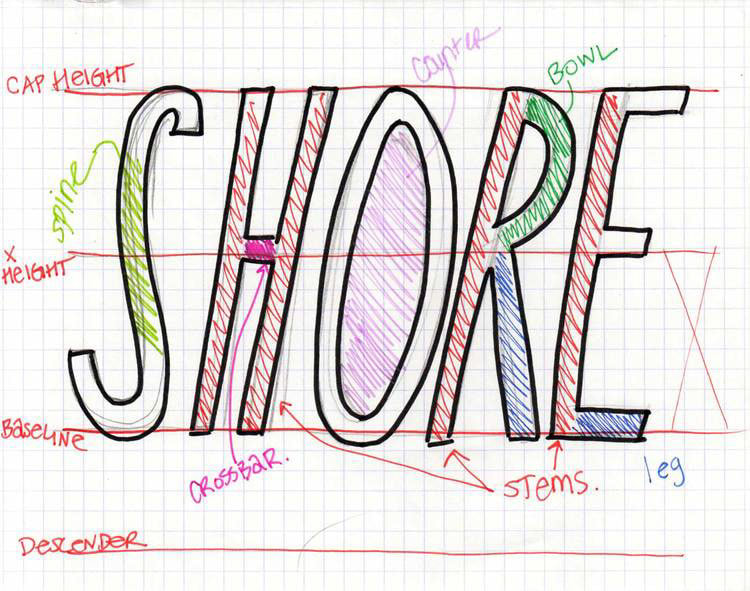
|
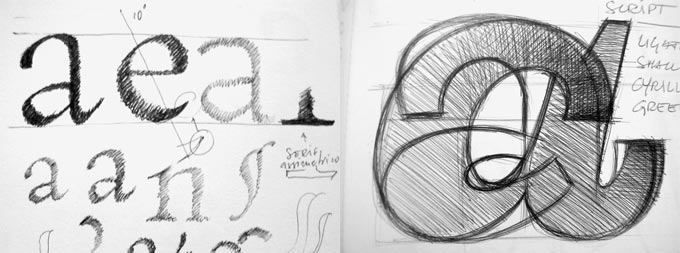
STEP 1 - Letterform Sketching
Draw letters on a blank sheet of paper first. Don’t follow any particular grid – just doodle away to find shapes that you like.
Once you like the way your letters are designed, then you can draw out the 26 characters in Uppercase and Numbers 0-9 following the grid to see how they should look. It might help to have GRID PAPER to sketch out your letters.
Take a picture or scan your Hand-Drawn letters to use as a template in Adobe ILLUSTRATOR
Name your file Hand-DrawnFONT_LastName and turn in to Schoology for STEP 1
|
|
|
STEP 2 - DIGITIZE your ALPHABET DESIGN (Vectors)
|

|
Export your file as a jpeg
Turn in both your Illustrator file (.AI) and your Image file (.JPG) Name your files ALPHAdigital_LastName and turn in to Schoology for STEP 2
|
|
|
STEP 3 - FONT & GRAPHIC (Vector)
|

|
You can see this design process in action in the article "How to Learn Letter-Perfect Design" from artist Jessica Hische
CLICK the button below |

|
Export your file as a jpeg
Turn in both your Illustrator file (.AI) and your Image file (.JPG)
Turn in both your Illustrator file (.AI) and your Image file (.JPG)
Name your files FONT&graphic_LastName and turn in to Schoology for STEP 3
When you are done...
Submit the work from the 3 STEPS to Schoology
FILENAMES:
Hand-DrawnFONT__lastname
ALPHAdigital_lastname (turn in both .JPG & .AI)
FONT&graphic_lastname (turn in both .JPG & .AI)
Submit the work from the 3 STEPS to Schoology
FILENAMES:
Hand-DrawnFONT__lastname
ALPHAdigital_lastname (turn in both .JPG & .AI)
FONT&graphic_lastname (turn in both .JPG & .AI)
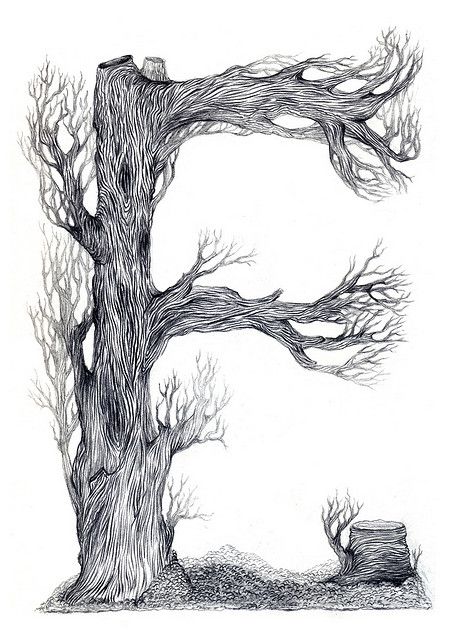
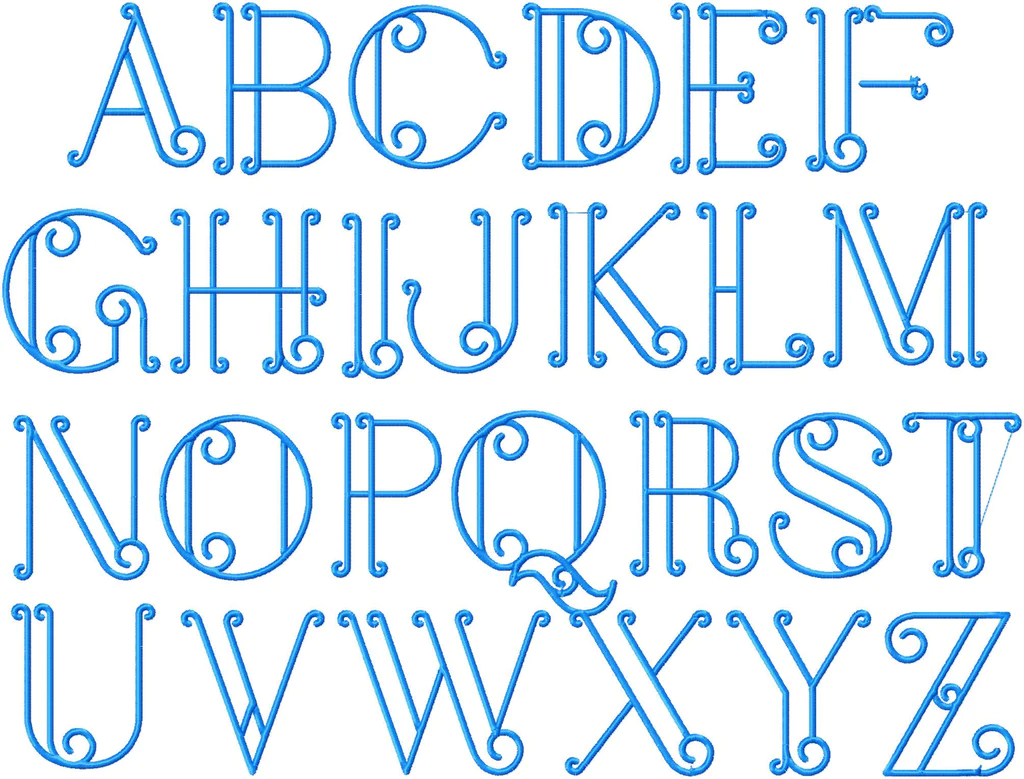
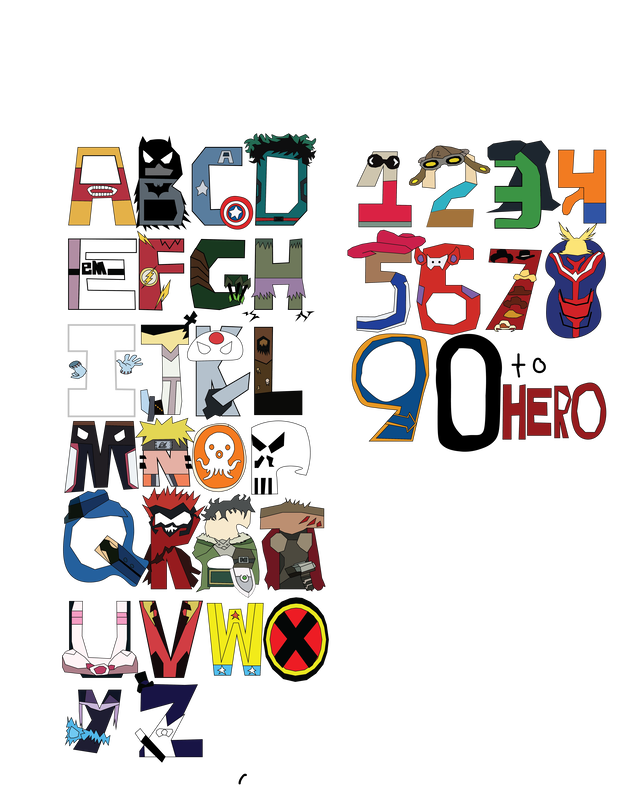
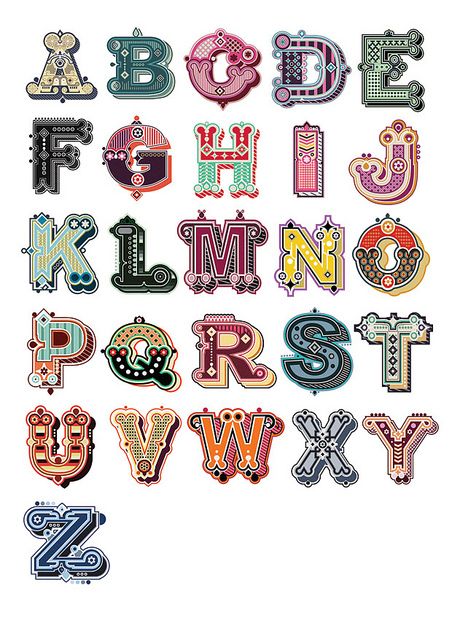
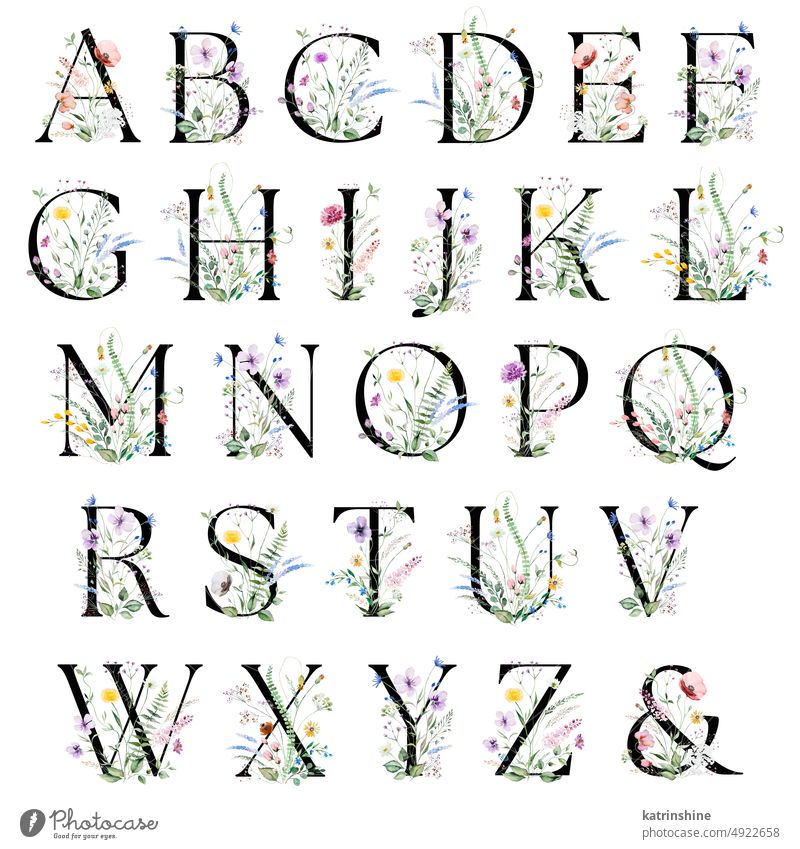
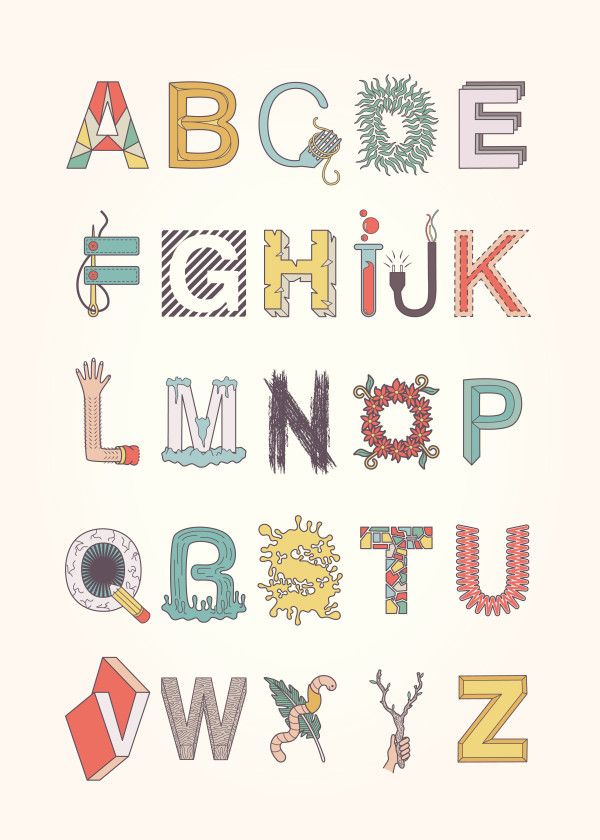
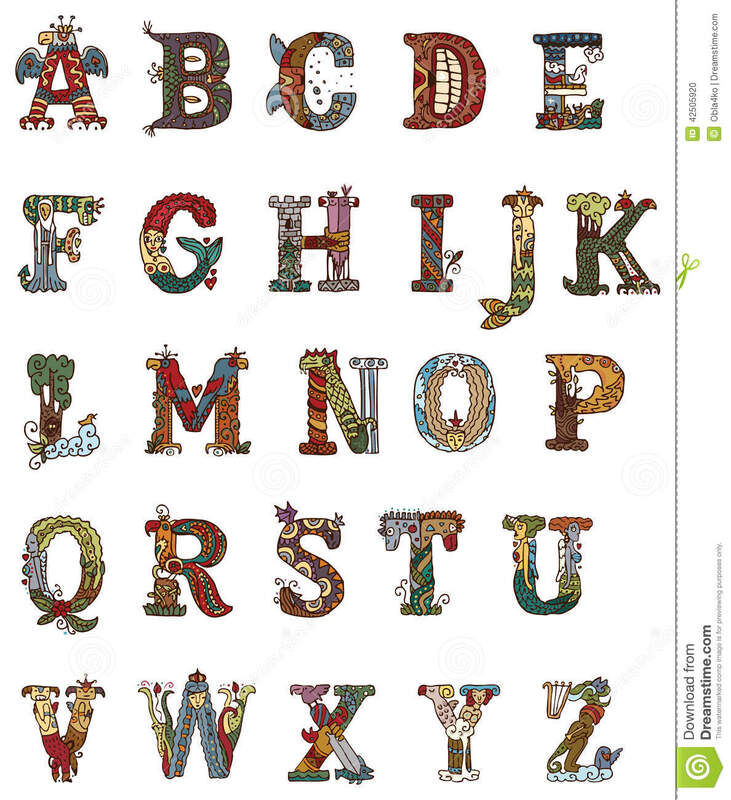
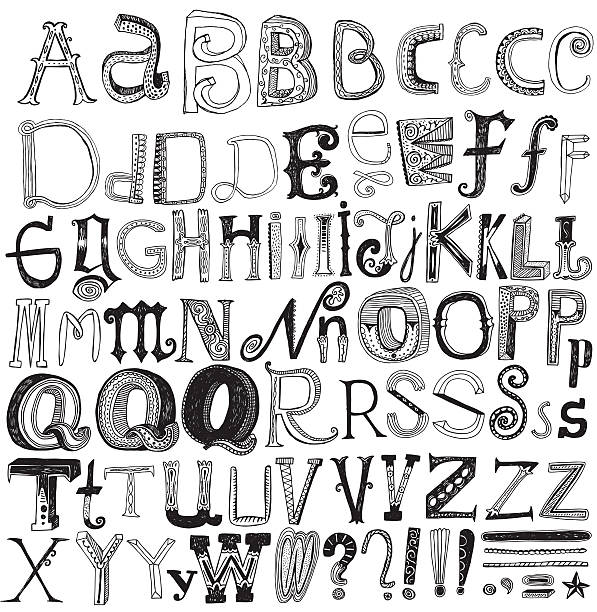
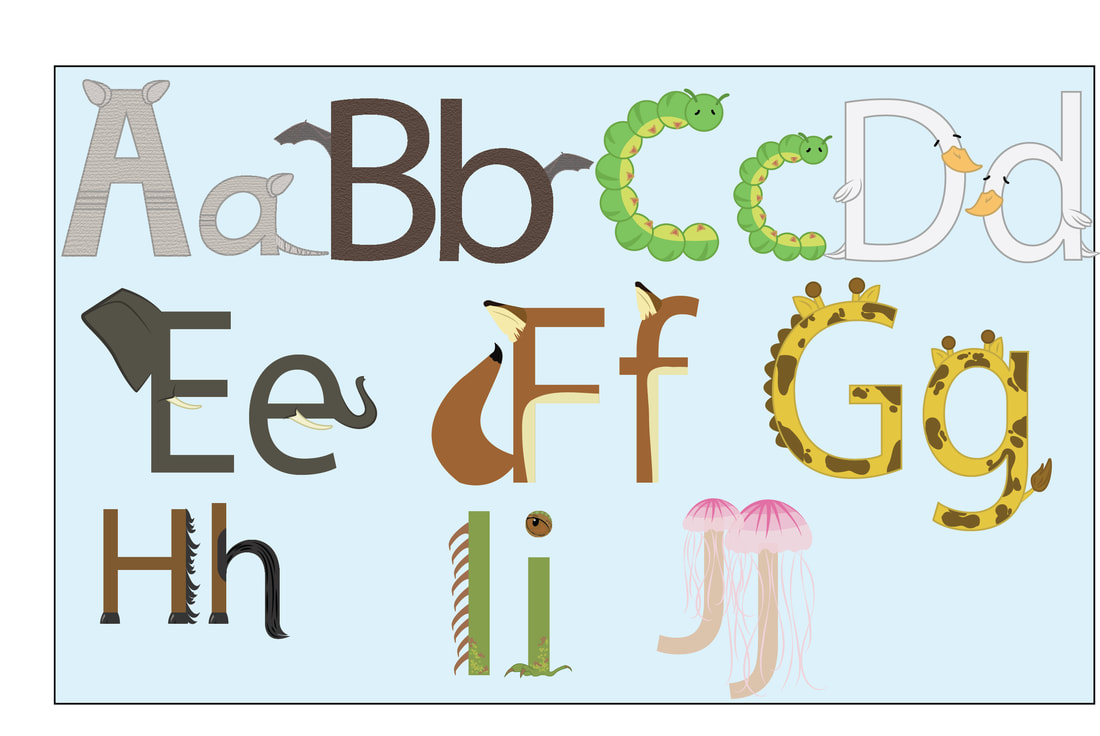
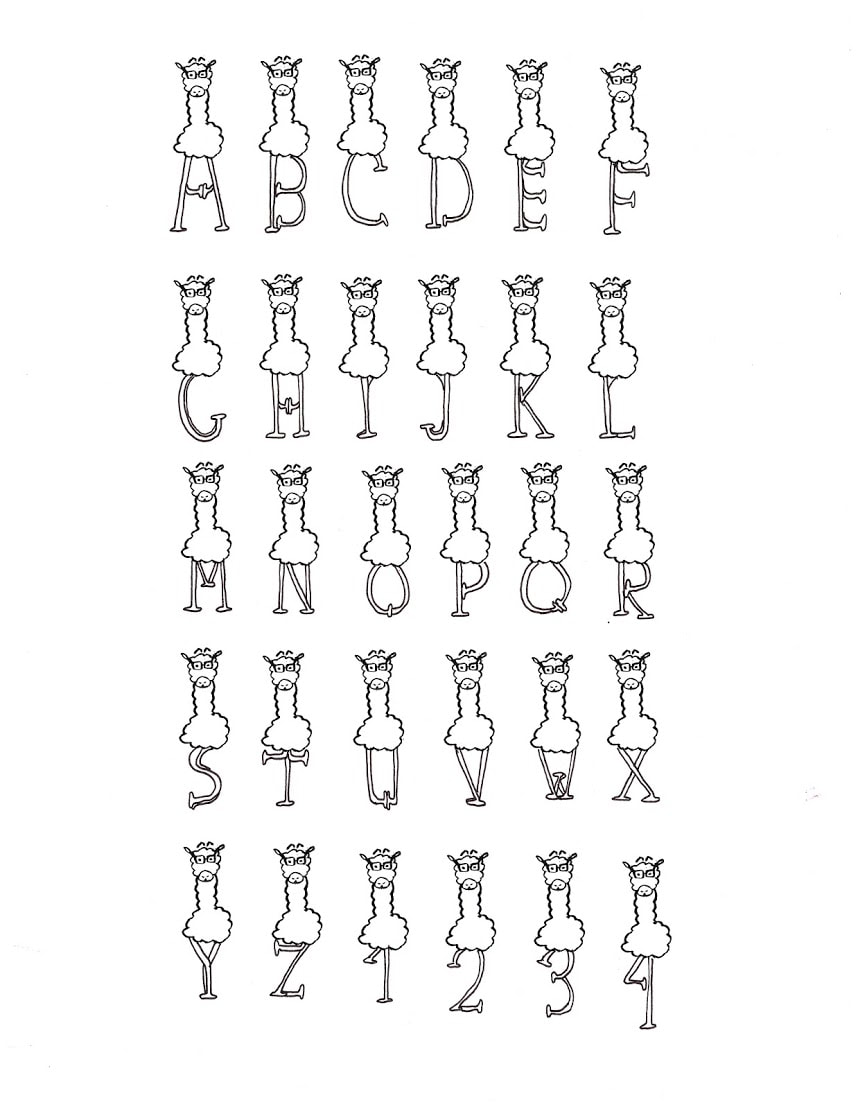
ALPHABET EXAMPLES
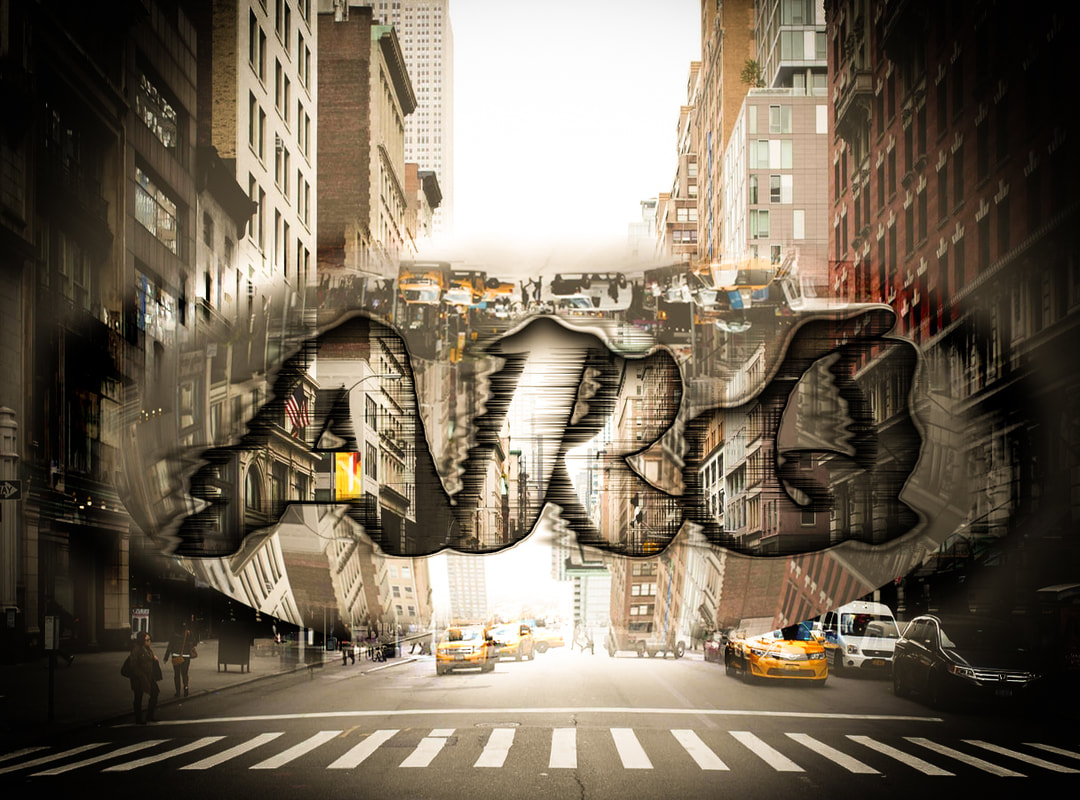
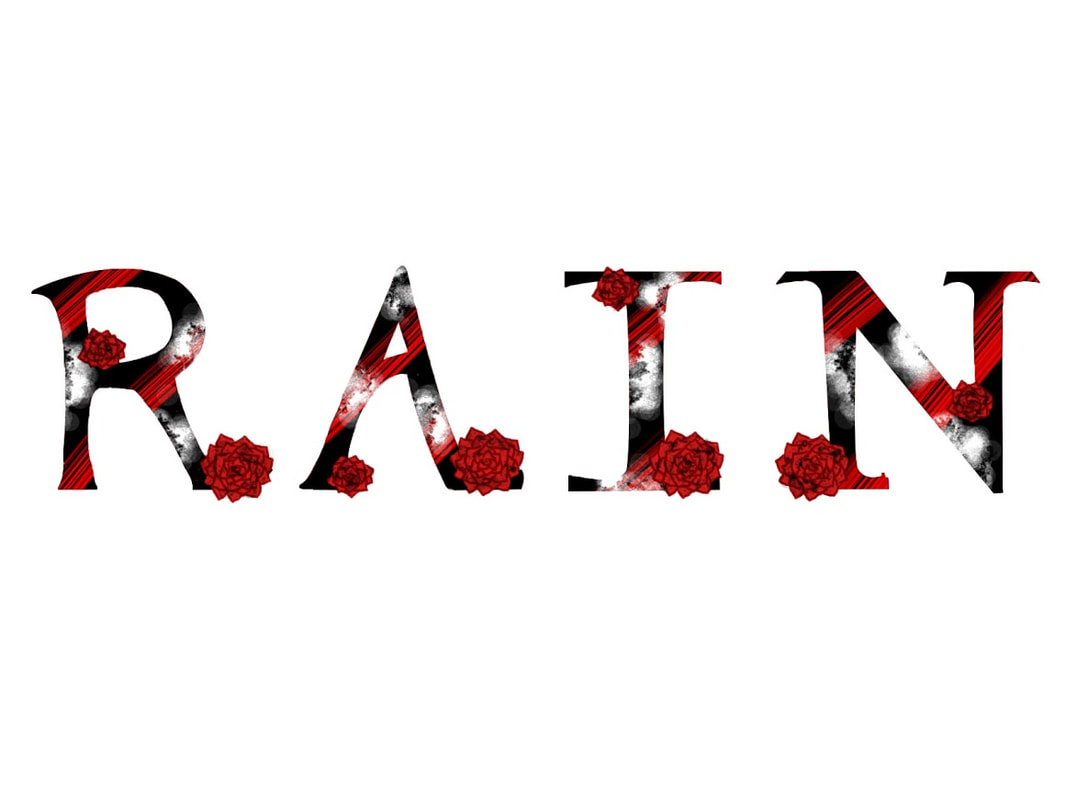
FONT & GRAPHIC EXAMPLES


Some of the text for this assignment was used from:
The Ultimate Guide on How to Create a Font
By Jake Rocheleau – July 27, 2015 – In Design
By Jake Rocheleau – July 27, 2015 – In Design