In this PROJECT Assignment, you will be working as an ILLUSTRATOR to create a NEW NARRITIVE (story) using your own photographs.
In this project - You will work with different methods to create PRECISE SELECTIONS, and fine-tune the edges of a selection in Adobe Photoshop using the techniques we have practiced.
In this project - You will work with different methods to create PRECISE SELECTIONS, and fine-tune the edges of a selection in Adobe Photoshop using the techniques we have practiced.
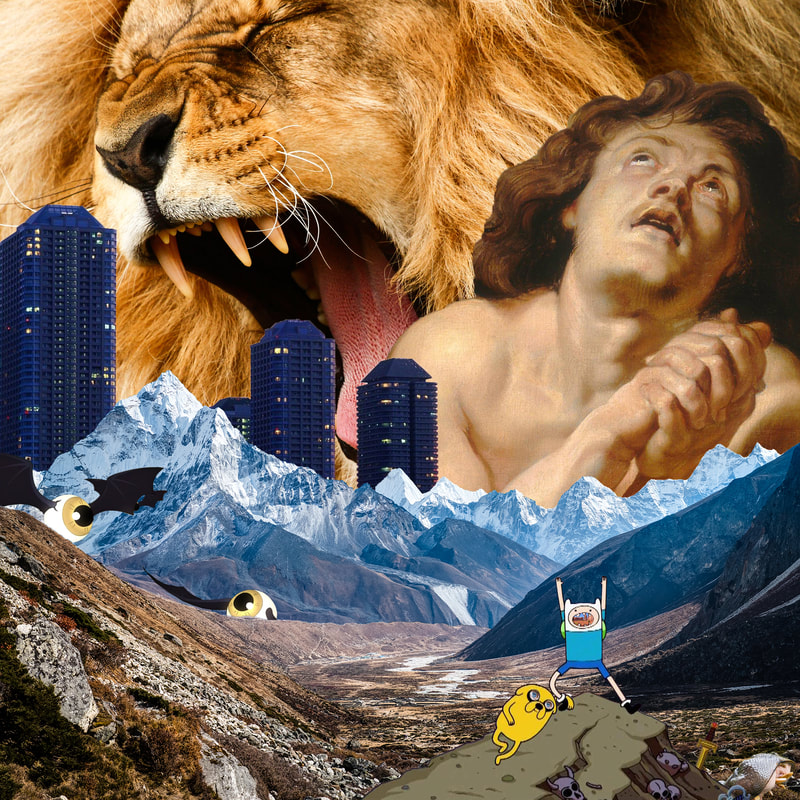
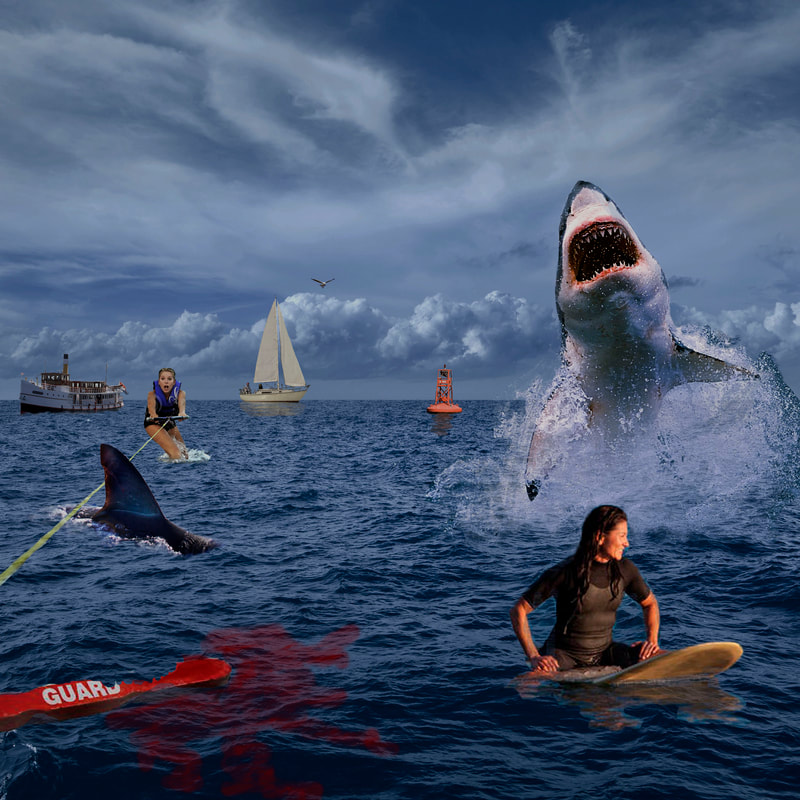
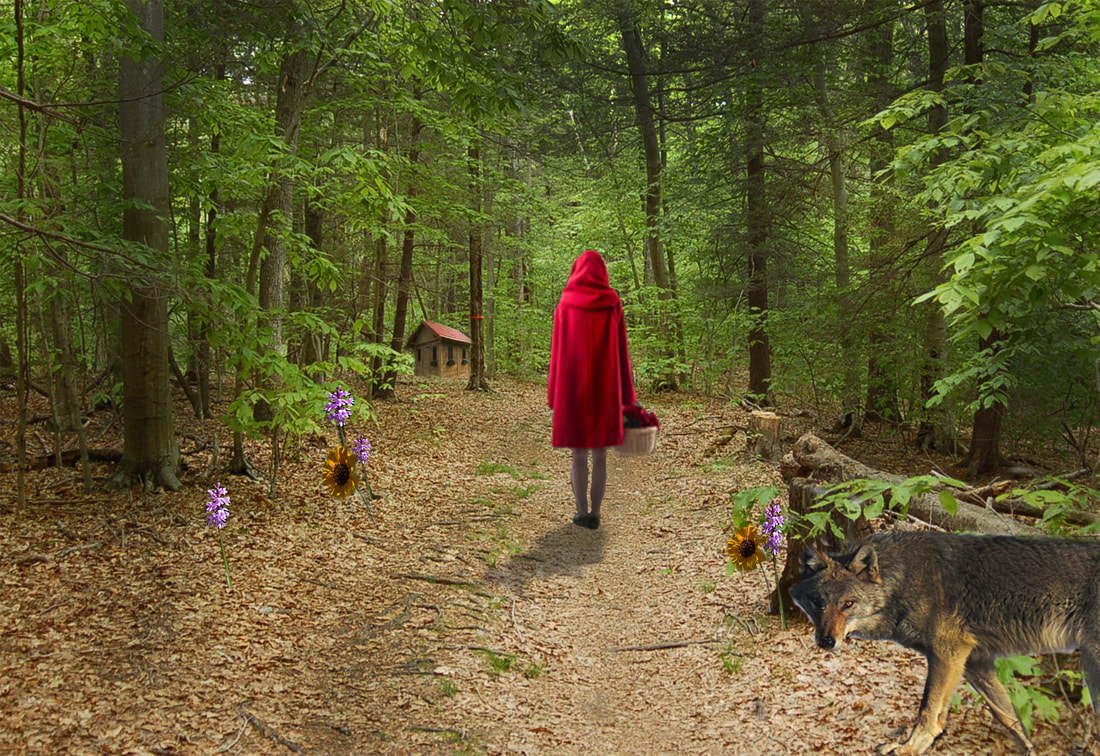
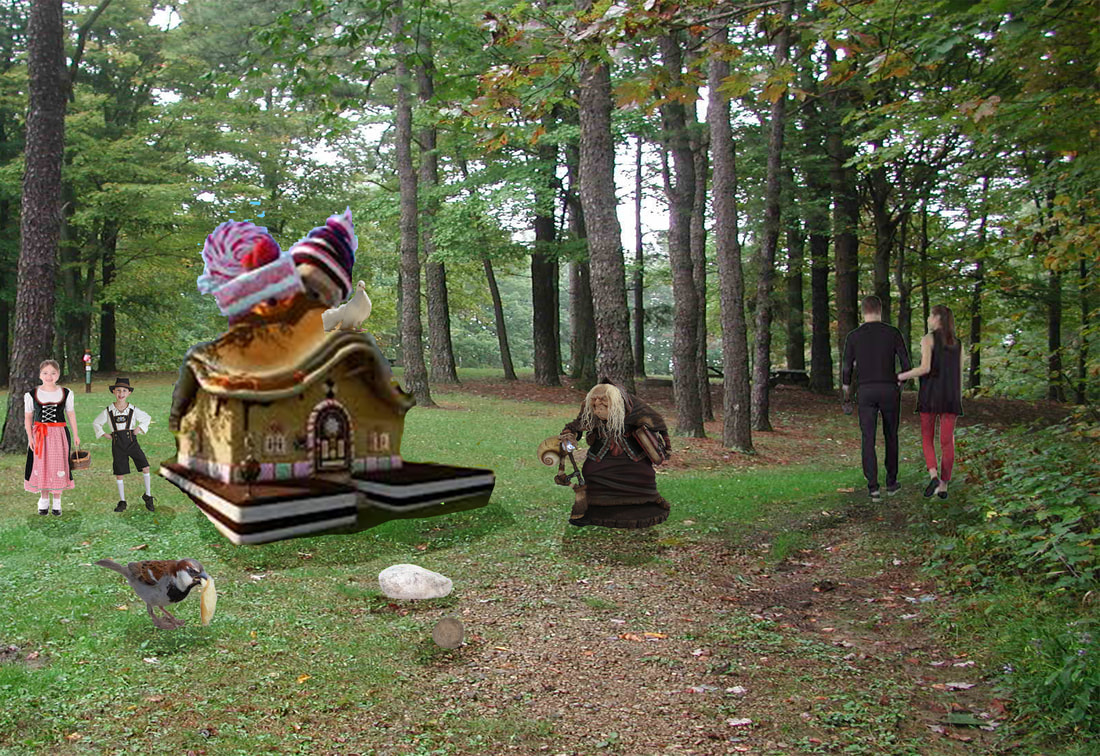
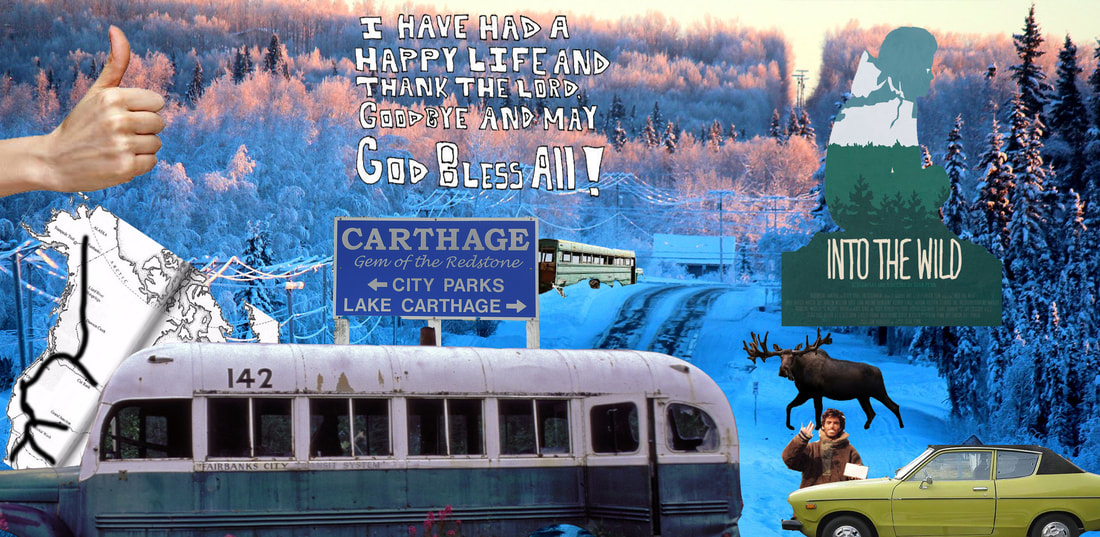
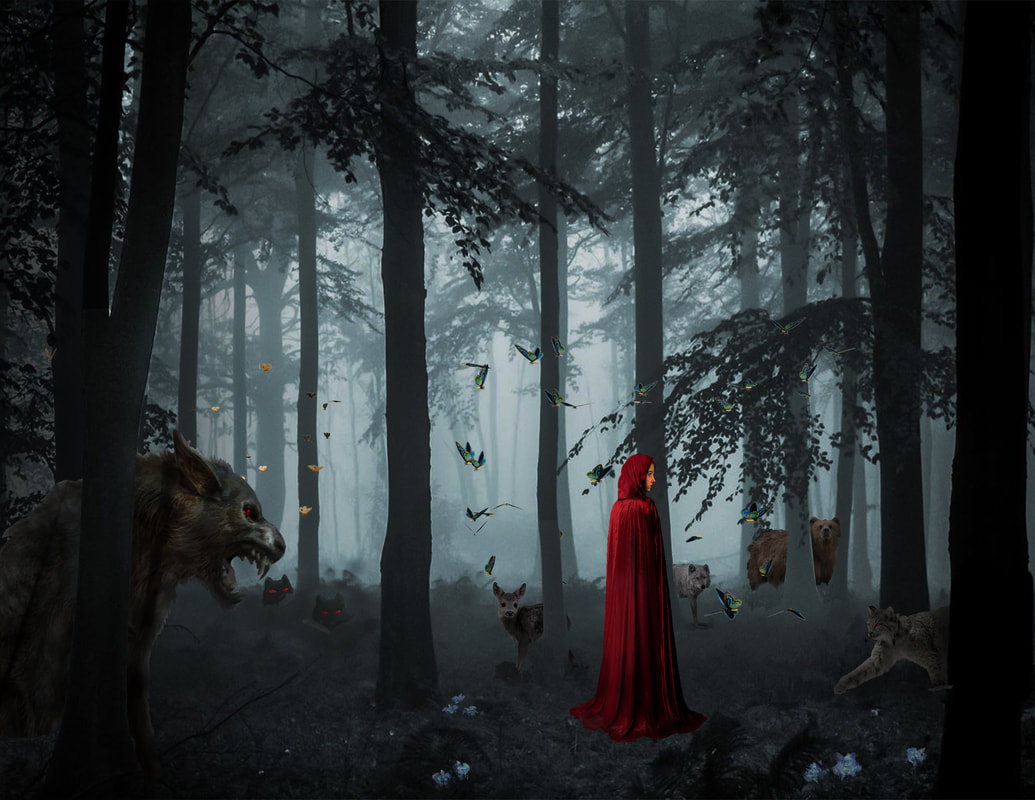
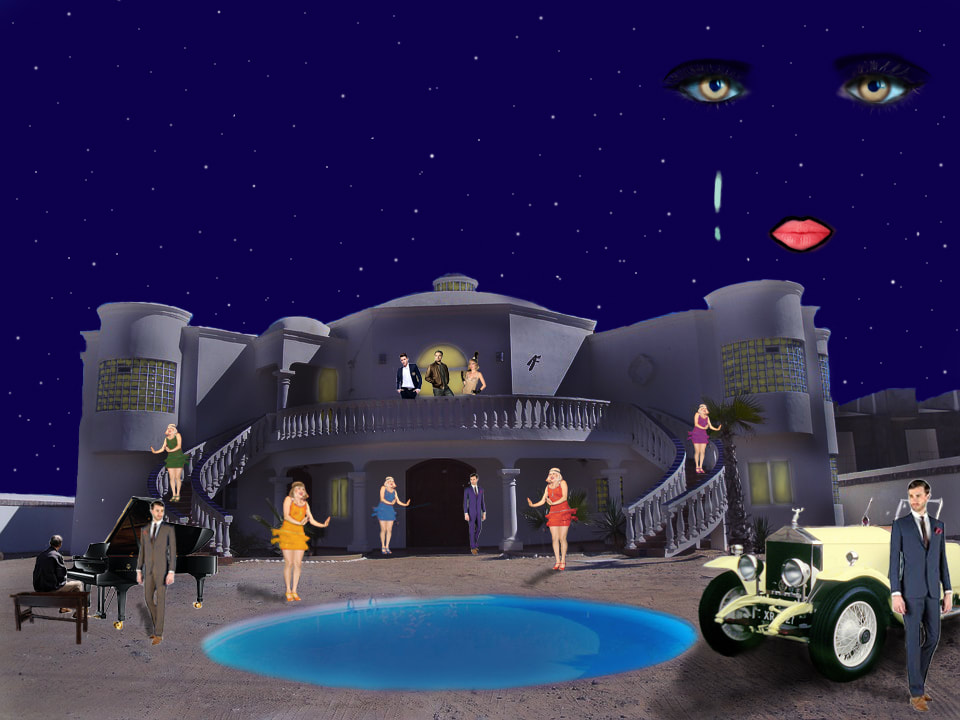
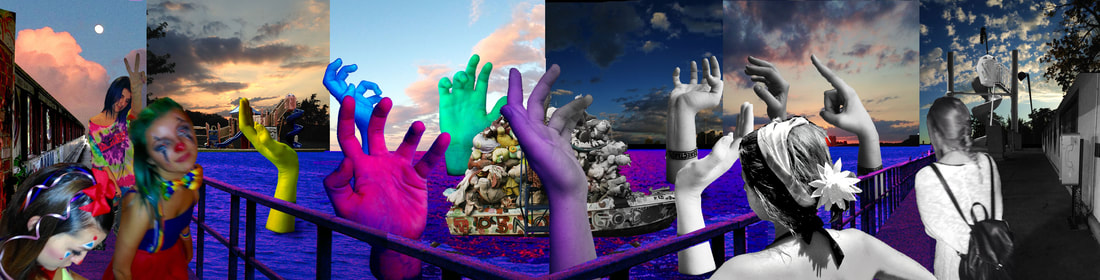
Here is a student example - click on the image to enlarge
YOUR ASSIGNMENT
You will be using your own images to create your COMPOSITION - They may be pictures you have already taken, or better yet, come up with a concept and take new pictures to use for your story!
Your task will be to Cut out 10 different objects to add to a background to illustrate your NARRITIVE
Your task will be to Cut out 10 different objects to add to a background to illustrate your NARRITIVE
1. START WITH A BACKGROUND
Select an appropriate BACKGROUND that you can use to SET THE STAGE for your STORY...
|
You can ENLARGE the CANVASS if you need more room...
IMAGE > CANVAS SIZE Here I am duplicating the background layer and enlarging the canvas to widen the space in which you can work
This also shows how your can FLIP a layer using
EDIT > TRANSFORM > FLIP HORIZONTALLY |
|
2. CUT OUT THE DIFFERENT ELEMENTS
|
Use your selection skills to cut out all the 10 different elements
Use SELECTION TOOLS like -
REFINE your selection using SELECT AND MASK
COPY your selected element into it's own layer
OR use LAYER MASKS to cut out your elements
Don't forget to APPLY your LAYER MASK! |
Use the method that works best FOR YOU!
|
3. MOVE THE ELEMENTS TO YOUR BACKGROUND
There are many ways to move layers around to different files in PHOTOSHOP - Here are a few...
- You can physically DRAG and DROP a LAYER into a new or existing file
- You can DUPLICATE a layer by right clicking on a layer in the LAYER PANEL and choose DUPLICATE LAYER - choose a new destination for the duplicate layer
|
DRAG & DROP
|
DUPLICATE LAYERS
|
4. ADJUST THE ELEMENT
There are many ways you can adjust the size and shape of an object in photoshop
|
Select the MOVE TOOL
One way is to check the box next to SHOW TRANSFORM CONTROLS when you are using the MOVE TOOL to change some basic things like size and rotation. Or you can use the TRANSFORM command under EDIT in the MENU
EDIT > TRANSFORM >
|
|
5. ADJUST THE COLOR
|
Adjust the color so that the parts that you bring into your background look like the belong there - like they fit! They should be similar color saturation and contrast to achieve a seamless composition. There are many ways to adjust the COLOR and CONTRAST of your layers
IMAGE > ADJUSTMENT > Or you can use ADJUSTMENT LAYERS Remember though your adjustment layer will affect all the layers below unless you need to create a CLIPPING MASK to make your adjustment layer effect only ONE layer below... |
|
CREATE SHADOWS
|
Create shadows for the elements to make them look like they belong. There are many ways to create your shadows including:
|
|
To finish up, save as a JPEG
File Name - SELECTIONcomposition_lastname
File Name - SELECTIONcomposition_lastname